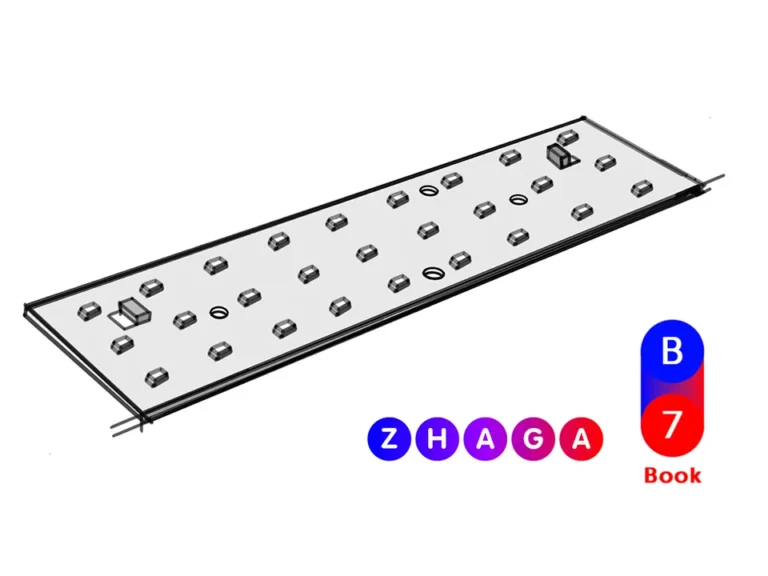
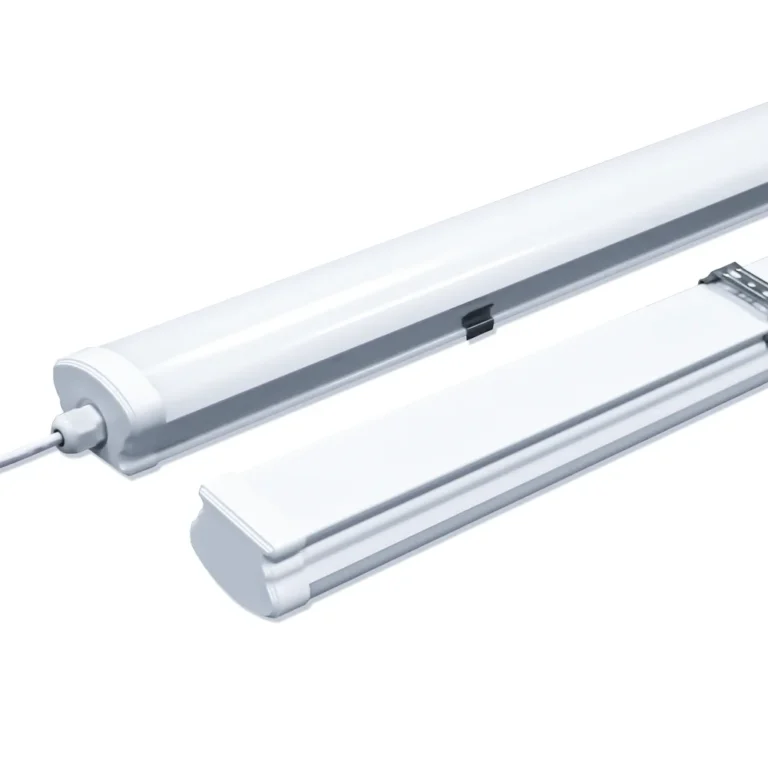
Les éclairages à LED tri-proof, également connus sous le nom de luminaires LED étanches, de lampes étanches à la vapeur, de lampes LED anti-poussière ou de lattes, sont largement utilisés dans les environnements exigeants tels que les usines, les entrepôts, les parkings et les stations de métro. Leur nom "tri-proof" fait référence à la protection contre l'eau, la poussière et la corrosion, ce qui en fait un choix fiable pour l'éclairage industriel et commercial. Cependant, même le luminaire le plus durable peut échouer s'il n'est pas installé correctement. Un montage incorrect, un câblage desserré ou une mauvaise étanchéité imperméable peuvent entraîner des risques pour la sécurité, une efficacité de la lumière réduite et un entretien coûteux. C'est pourquoi il est essentiel de suivre un guide d'installation clair à trois LED. Dans cet article, nous allons parcourir les instructions d'installation étape par étape et les conseils de dépannage, vous aidant à obtenir un système d'éclairage sûr, durable et économe en énergie.

Préparation avant l'installation
1. vérification de l'environnement
Avant d'installer un Lumière tri-proof LED, inspectez soigneusement l'environnement. Assurez-vous que la surface est stable, sèche et exempte de poussière ou d'huile excessive. Vérifiez les niveaux d'humidité et de température pour confirmer qu'ils répondent aux spécifications de l'appareil, ce qui contribue à maintenir ses performances imperméables et anti-poussière.
2. Préparation des matériaux et des outils
Rassemblez tous les éléments requis avant de commencer. Cela comprend le luminaire tri-proof LED, les supports de montage, les vis, les connecteurs étanches et les embouts. Les outils essentiels comprennent souvent une perceuse, un tournevis, une pince et du ruban isolant. Ayant tout prêt garantit un processus d'installation fluide et efficace.

3. Précautions de sécurité
Coupez toujours l'alimentation principale avant le câblage. Utilisez des outils isolés et portez des gants de protection pour éviter les accidents. Vérifiez que toutes les connexions électriques sont conformes aux normes locales. La priorité de la sécurité au stade de la préparation garantit une installation de lampes tri-professionnelles à LED fiables et durables.
Méthodes de montage étape par étape
Installation en saillie
- Mesurez la longueur de la lumière tri-professionnelle LED et marquez les positions de perçage au plafond ou au mur.
- Percez les trous aux points marqués, en vous assurant que la profondeur correspond aux bouchons d'expansion.
- Insérez des bouchons d'extension dans les trous percés.
- Fixez les supports de fixation métalliques avec des vis, en les serrant fermement pour éviter tout mouvement.
- Alignez le luminaire avec les supports installés.
- Appuyez doucement sur le luminaire dans les supports jusqu'à ce qu'il s'enclenche correctement.
- Connectez le câble d'alimentation étanche selon le schéma de câblage.
- Revérifiez la stabilité et l'alignement avant de passer à l'étape suivante.
Installation suspendue
- Marquez deux points de suspension au plafond, en vous assurant qu'ils correspondent à la longueur du luminaire.
- Percez des trous et insérez des bouchons d'expansion aux positions marquées.
- Visser les crochets de suspension ou installer fermement les chevilles d'acier.
- Ajustez la longueur des chaînes suspendues ou des câbles en acier à la hauteur d'installation souhaitée.
- Fixez les deux extrémités du kit de suspension aux clips de montage du luminaire.
- Sécurisez la lumière pour éviter le balancement ou l'équilibre irrégulier.
- Testez la stabilité en tirant doucement sur le luminaire avant de mettre en marche.
- Connectez le câblage étanche avec précaution, en vous assurant que les bagues d'étanchéité sont correctement serrées.

Conseils d'installation
Gardez le niveau de luminaire pendant l'installation pour assurer un éclairage uniforme.
Évitez les vis ou les supports de serrage excessifs pour éviter d'endommager le boîtier.
Ne placez pas de luminaires directement sous des jets d'eau puissants, sauf en cas d'indice IP66 ou supérieur.
Vérifiez toujours que tous les connecteurs et joints sont entièrement verrouillés pour maintenir une protection imperméable.
| Type d'installation | Étapes clés | Application typique |
| en surface | Perceuse → Fixer les supports → Snap in Light → Connecter le | Garages de stationnement, couloirs |
| interrompu | Perceuse → Installer les crochets → Régler les chaînes → Suspendre le luminaire → Conne | Entrepôts, usines, halls |
Câblage et connexions étanches
Méthodes de câb
Lors de l'installation d'une lampe tri-proof à LED, le câblage peut être effectué via une entrée simple ou une entrée double extrémité selon les exigences du projet. L'entrée à une extrémité est courante dans les petites installations, tandis que l'entrée double extrémité convient aux trajets plus longs ou aux connexions en guirlande. Vérifiez toujours la tension nominale de l'appareil, qu'il s'agisse d'un AC220V, d'un AC277V ou d'un niveau industriel supérieur, comme AC347V ou AC480V, afin d'éviter les problèmes d'alimentation.
Connexions étanches
Un facteur clé dans le maintien de la protection IP65 ou IP66 réside dans les connecteurs. Utilisez des presse-étoupes étanches de haute qualité et assurez-vous que les bagues d'étanchéité sont correctement serrées. L'application d'un ruban isolant ou d'un anneau en silicone autour des zones vulnérables peut fournir une protection secondaire. Une mise à la terre adéquate est également nécessaire pour assurer la sécurité et la stabilité électriques.
Préoccupations courantes du câ
Les connexions desserrées sont la cause la plus fréquente de défaillances telles que des scintillements, des courts-circuits ou même une pénétration d'eau. Pour éviter ces problèmes, vérifiez toujours que les fils sont dénudés à la bonne longueur, insérés complètement et bien fixés. Une attention particulière à ce stade garantit une installation de lumière tri-profession LED fiable et durable.

Vérification et test et dépannage
vérification
Avant de mettre en marche, procédez à une inspection minutieuse pour assurer une installation sûre et sécurisée. Vérifiez que tous les fils électriques sont correctement connectés et que l'isolation est correctement appliquée pour éviter les courts-circuits. Vérifiez que la lumière tri-protège LED a été fixée fermement sur les supports ou les kits de suspension, sans raccords desserrés. Pour les installations suspendues, vérifiez que la hauteur de suspension est même pour maintenir un éclairage uniforme. Enfin, assurez-vous que le couvercle du diffuseur PC est entièrement verrouillé en place pour garantir des performances imperméables et anti-poussière.
examen
Après l'inspection, mettez le pouvoir pour tester le luminaire. Confirmez que la lumière tri-professionnelle LED s'allume immédiatement et offre une luminosité constante. Observez attentivement pour tout scintillement, gradation ou sons inhabituels du conducteur. Cette étape garantit que les connexions électriques et mécaniques sont correctes avant que les lumières ne soient utilisées quotidiennement.
intervention pour régler une panne
Si des problèmes surviennent lors des tests, envisagez les cas courants suivants :
Le voyant ne s'allume pas → Vérifiez si le câblage est correctement connecté ou si l'alimentation est défectueuse.
Problème de scintillement → Inspectez si le conducteur a un mauvais contact avec la carte LED ou confirmez que la tension de sortie du conducteur correspond aux exigences du module LED.
Condensation ou humidité à l'intérieur → Assurez-vous que le couvercle du diffuseur est bien verrouillé et que l'entrée du câble est entièrement scellée avec des connecteurs étanches.
Une vérification, des tests et un dépannage appropriés maximiseront la sécurité et la durée de vie de votre installation d'éclairage tri-professionnel à LED.


Conclusion
Une installation appropriée, un câblage minutieux et des tests approfondis sont les clés pour garantir que les lampes tri-professionnelles à LED offrent des performances fiables dans des environnements exigeants. En suivant les étapes recommandées et en appliquant des méthodes de dépannage si nécessaire, les utilisateurs peuvent éviter les problèmes courants tels que le scintillement, la panne de courant ou la pénétration d'eau. Un système bien installé améliore non seulement la sécurité, mais réduit également les coûts de maintenance à long terme.
Chez Signiteled, chaque éclairage tri-proof que nous produisons subit des inspections et des tests stricts pour s'assurer qu'il n'y a pas de panne de courant ou de problèmes d'imperméabilisation. Nos produits sont conçus avec une flexibilité à l'esprit - ils prennent en charge les connexions en guirlande pour des projets à grande échelle et peuvent également être associés à des solutions d'alimentation d'urgence pour plus de sécurité. Que vous ayez besoin de montages durables pour les usines, les entrepôts ou les garages de stationnement, SignLiteled fournit un éclairage tri-professionnel LED professionnel, fiable et personnalisable pour répondre aux exigences de votre projet. Si vous avez votre luminaire privé tri-proof, vous pouvez également être personnalisé Module linéaire LED De notre part, contactez-nous dès aujourd'hui pour une offre en vrac et un support technique sur mesure.
Articles Similaires