Światła LED trójproporkowe - znane również jako wodoodporne oprawy LED, parafle paroszczelne, pyłoszczelne diody LED lub łaty - są szeroko stosowane w wymagających środowiskach, takich jak fabryki, magazyny, garaże parkingowe i stacje metra. Ich nazwa „Tri-Proof” odnosi się do ochrony przed wodą, kurzem i korozją, co czyni je niezawodnym wyborem do oświetlenia przemysłowego i handlowego. Jednak nawet najbardziej wytrzymała oprawa może się nie udać, jeśli nie zostanie prawidłowo zainstalowana. Niewłaściwy montaż, luźne okablowanie lub słabe uszczelnienie wodoodporne może prowadzić do zagrożeń bezpieczeństwa, zmniejszonej wydajności oświetlenia i kosztownej konserwacji. Dlatego kluczowe jest przestrzeganie jasnego przewodnika po instalacji światła LED Tri-Proof. W tym artykule omówimy instrukcje instalacji krok po kroku i wskazówki dotyczące rozwiązywania problemów, pomagając Ci osiągnąć bezpieczny, długotrwały i energooszczędny system oświetlenia.

Przygotowanie przed instalacją
1. KONTROLA Ś
Przed zainstalowaniem Światło LED Tri-Proof, dokładnie sprawdź środowisko. Upewnij się, że powierzchnia jest stabilna, sucha i wolna od nadmiernego kurzu lub oleju. Sprawdź poziom wilgotności i temperatury, aby potwierdzić, że spełniają specyfikacje urządzenia, co pomaga zachować jego wodoodporność i pyłoszczelność.
2. Przygotowanie materiałów i narzędzi
Zbierz wszystkie wymagane przedmioty przed rozpoczęciem. Obejmuje to oprawę oświetleniową LED Tri-Proof, wsporniki montażowe, śruby, wodoodporne złącza i zaślepki końcowe. Podstawowe narzędzia często obejmują wiertło, śrubokręt, szczypce i taśmę izolacyjną. Mając wszystko gotowe, zapewnia płynny i wydajny proces instalacji.

3. Środki ostrożności
Zawsze odłącz główny zasilacz przed okablowaniem. Używaj izolowanych narzędzi i noś rękawice ochronne, aby zapobiec wypadkom. Sprawdź dokładnie, czy wszystkie połączenia elektryczne są zgodne z lokalnymi normami. Priorytetowe traktowanie bezpieczeństwa na etapie przygotowania gwarantuje niezawodną i długotrwałą instalację świetlną LED Tri-Proof.
Metody montażu krok po kroku
Montaż natynkowy
- Zmierz długość światła LED Tri-Proof i zaznacz pozycje wiercenia na suficie lub ścianie.
- Wywierć otwory w zaznaczonych punktach, upewniając się, że głębokość jest zgodna z zatyczkami rozprężnymi.
- Włóż zatyczki rozprężne do wywierconych otworów.
- Zamocuj metalowe wsporniki montażowe za pomocą śrub, dokręcając je mocno, aby uniknąć ruchu.
- Wyrównaj oprawę oświetleniową z zainstalowanymi wspornikami.
- Delikatnie wciśnij uchwyt w nawiasy, aż zatrzaśnie się bezpiecznie na swoim miejscu.
- Podłącz wodoodporny kabel zasilający zgodnie ze schematem okablowania.
- Sprawdź ponownie stabilność i wyrównanie przed przejściem do następnego kroku.
Zawieszona instalacja
- Zaznacz dwa punkty zawieszenia na suficie, upewniając się, że pasują do długości urządzenia.
- Wywierć otwory i włożyć zatyczki rozprężne w oznaczonych pozycjach.
- Wkręć haczyki zawieszenia lub zainstaluj kotwy z drutu stalowego.
- Dostosuj długość wiszących łańcuchów lub stalowych kabli do żądanej wysokości montażu.
- Przymocuj oba końce zestawu zawieszenia do zacisków montażowych urządzenia.
- Zabezpiecz światło, aby zapobiec kołysaniu lub nierównomiernej równowagi.
- Przetestuj stabilność, delikatnie pociągając urządzenie przed włączeniem.
- Ostrożnie podłącz wodoodporne przewody, upewniając się, że pierścienie uszczelniające są prawidłowo dokręcone.

Wskazówki dotyczące instalacji
Utrzymuj poziom oprawy podczas instalacji, aby zapewnić równomierne oświetlenie.
Unikać przekręcania śrub lub wsporników, aby zapobiec uszkodzeniu obudowy.
Nie umieszczaj opraw bezpośrednio pod silnymi strumieniami wody, chyba że znamionowy IP66 lub wyższy.
Zawsze potwierdzaj, że wszystkie złącza i uszczelki są całkowicie zablokowane, aby zachować wodoodporną ochronę.
| Typ instalacji | Kluczowe kroki | Typowe zastosowanie |
| natynkowy | Wiertło → mocowania uchwytów → zatrzask w świetle → podłącz okablowanie | Garaże parkingowe, korytarze |
| wstrzymany | Wiertło → zamontować haczyki → dopasować łańcuchy → zawiesić osprzęt → podłączyć oka | Magazyny, fabryki, hale |
Okablowanie i wodoodporne połączenia
Metody okablowania
Podczas instalowania lampy LED Tri-Proof, okablowanie można wykonać przez jedno-koniec lub podwójne wejście w zależności od wymagań projektowych. Wejście jednokołowe jest powszechne w mniejszych instalacjach, podczas gdy wejście podwójne jest odpowiednie do dłuższych przebiegów lub połączeń łańcuchowych. Zawsze sprawdzaj napięcie znamionowe urządzenia, czy AC220V, AC277V lub wyższe standardy przemysłowe, takie jak AC347V lub AC480V, aby uniknąć problemów z zasilaniem.
Wodoodporne
Kluczowym czynnikiem w utrzymaniu ochrony IP65 lub IP66 są złącza. Użyj wysokiej jakości wodoodpornych dławików kablowych i upewnij się, że pierścienie uszczelniające są prawidłowo dokręcone. Nałożenie taśmy izolacyjnej lub silikonowego pierścienia wokół wrażliwych obszarów może zapewnić dodatkową ochronę. Właściwe uziemienie jest również niezbędne do zapewnienia bezpieczeństwa elektrycznego i stabilności.
Typowe problemy z okablowaniem
Luźne połączenia są najczęstszą przyczyną awarii, takich jak migotanie, zwarcia, a nawet wnikanie wody. Aby zapobiec tym problemom, zawsze dokładnie sprawdź, czy przewody są rozebrane do odpowiedniej długości, włożone do pełnej długości i bezpiecznie zamocowane. Zachowanie szczególnej ostrożności na tym etapie gwarantuje niezawodną i długotrwałą instalację świetlną LED Tri-Proof.

Sprawdzanie i testowanie i rozwiązywanie problemów
kontrola
Przed włączeniem należy przeprowadzić dokładną kontrolę, aby zapewnić bezpieczną instalację. Upewnij się, że wszystkie przewody elektryczne są mocno podłączone i czy izolacja jest prawidłowo zastosowana, aby zapobiec zwarciom. Sprawdź, czy trójproduktowe światło LED zostało mocno zamocowane na wspornikach lub zestawach zawieszenia, bez luźnych okuć. W przypadku instalacji podwieszanych należy sprawdzić, czy wysokość zawieszenia ma być utrzymane w jednolitym oświetleniu. Na koniec upewnij się, że pokrywa dyfuzora PC jest w pełni zablokowana, aby zagwarantować wodoodporność i pyłoszczelność.
testowanie
Po kontroli włącz zasilanie, aby przetestować urządzenie. Upewnij się, że dioda LED Tri-Proof zapala się natychmiast i zapewnia stałą jasność. Obserwuj uważnie wszelkie migotanie, ściemnianie lub nietypowe dźwięki kierowcy. Ten krok zapewnia prawidłowe połączenie zarówno elektrycznych, jak i mechanicznych przed oddaniem świateł do codziennego użytku.
rozwiązywanie problemów
Jeśli podczas testowania wystąpią problemy, rozważ następujące typowe przypadki:
Nie włącza się kontrolka → Sprawdź, czy okablowanie jest prawidłowo podłączone lub czy zasilanie jest uszkodzone.
Migotanie Problem → Sprawdź, czy kierowca ma słaby kontakt z płytą LED, czy też sprawdź, czy napięcie wyjściowe kierowcy odpowiada wymaganiom modułu LED.
Skraplanie lub wilgoć wewnątrz → Upewnij się, że pokrywa dyfuzora jest szczelnie zablokowana i wejście kabla jest całkowicie uszczelnione za pomocą wodoodpornych złączy.
Właściwe sprawdzanie, testowanie i rozwiązywanie problemów zmaksymalizuje bezpieczeństwo i żywotność instalacji świetlnej LED Tri-Proof.


Wniosek
Właściwa instalacja, staranne okablowanie i dokładne testy to klucze do zapewnienia, że diody LED Tri-Proof zapewniają niezawodną wydajność w wymagających środowiskach. Postępując zgodnie z zalecanymi krokami i stosując metody rozwiązywania problemów, użytkownicy mogą uniknąć typowych problemów, takich jak migotanie, awaria zasilania lub wnikanie wody. Dobrze zainstalowany system nie tylko zwiększa bezpieczeństwo, ale także zmniejsza długoterminowe koszty konserwacji.
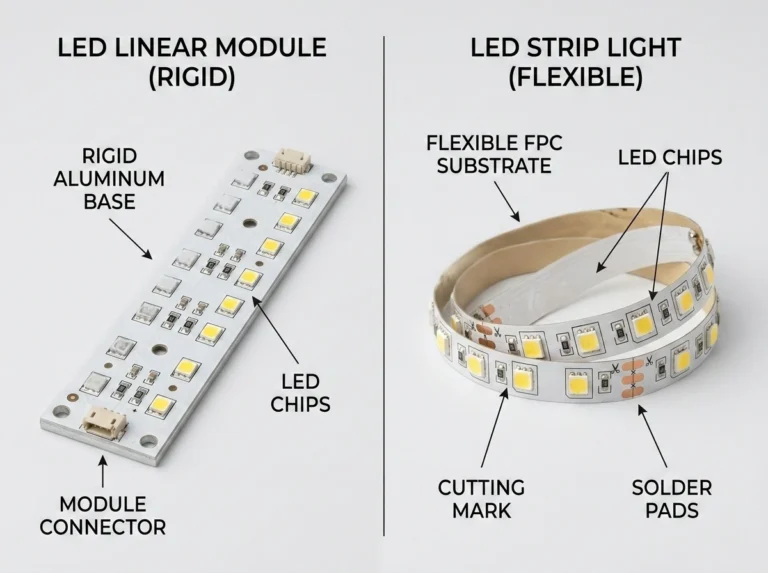
W SignliteDed każde wytwarzane przez nas światło tri-proof przechodzi ścisłe inspekcje i testy, aby upewnić się, że nie wystąpiły awarie zasilania ani problemy z hydrofobią. Nasze produkty są zaprojektowane z myślą o elastyczności — obsługują połączenia łańcuchowe dla dużych projektów, a także można je łączyć z rozwiązaniami awaryjnymi dla większego bezpieczeństwa. Niezależnie od tego, czy potrzebujesz trwałych opraw do fabryk, magazynów lub garażów, Signliteled zapewnia profesjonalne, niezawodne i konfigurowalne oświetlenie LED, aby spełnić wymagania projektowe. Jeśli masz swoją prywatną oprawę oświetleniową Tri-Proof, możesz również uzyskać dostosowane Moduł liniowy LED Od nas skontaktuj się z nami już dziś, aby uzyskać dostawy zbiorcze i dostosowane wsparcie techniczne.
Powiązane posty