Lắp đặt đèn LED trên tường gỗ là một cách tuyệt vời để nâng cao không gian của bạn, thêm nét hiện đại và phong cách. Cho dù bạn thích ánh sáng ấm cúng hay ánh đèn rực rỡ, rực rỡ, dự án thân thiện với DIY này có thể được điều chỉnh cho phù hợp với nhu cầu của bạn. Dưới đây là một hướng dẫn đơn giản, từng bước để giúp bạn bắt đầu!
Những gì bạn sẽ cần
Nếu bạn chưa quen với thiết kế nhà, bộ dụng cụ đèn LED lắp ráp sẵn có sẵn và sẵn sàng gắn vào tường ốp gỗ của bạn. Đối với những người đam mê DIY thực hành, hãy tập hợp các tài liệu sau:
- Dải đèn LED / băng LED (chọn màu và độ dài phù hợp để phù hợp với thiết kế của bạn)
- Cấu hình lắp LED / Cấu hình nhôm (để có kiểu dáng đẹp, chuyên nghiệp)
- Nguồn điện / Trình điều khiển LED cho đèn LED
- Đầu nối (nếu thiết lập của bạn liên quan đến nhiều dải)
- Băng keo hai mặt
- Vít và giá đỡ (tùy chọn, để ổn định thêm)
- Khoan (nếu sử dụng ốc vít)
- một ổ cắm điện gần đó
Lập kế hoạch bố trí đèn LED của bạn
- Quyết định chính xác nơi bạn muốn lắp đặt các dải đèn LED trên tường gỗ của mình.
- Đo diện tích lắp đặt mong muốn để xác định lượng đèn LED bạn cần.
Chuẩn bị tường gỗ của bạn
- Đảm bảo bề mặt của tường gỗ được sạch sẽ và khô hoàn toàn. Điều này giúp băng dính dính đúng cách.
Cắt và lắp ráp dải LED và hồ sơ
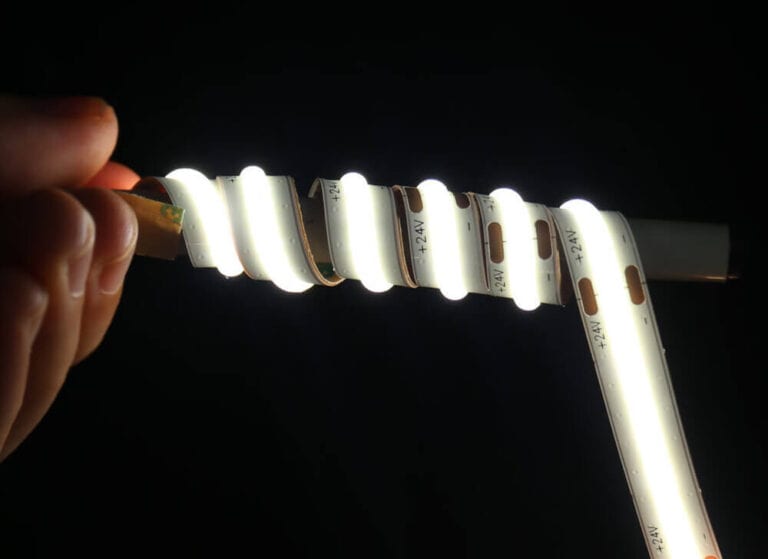
- Cắt các dải đèn LED và các cấu hình gắn theo chiều dài mong muốn. Hồ sơ phải ngắn hơn khoảng 2 cm so với dải LED để chừa chỗ cho nắp cuối.
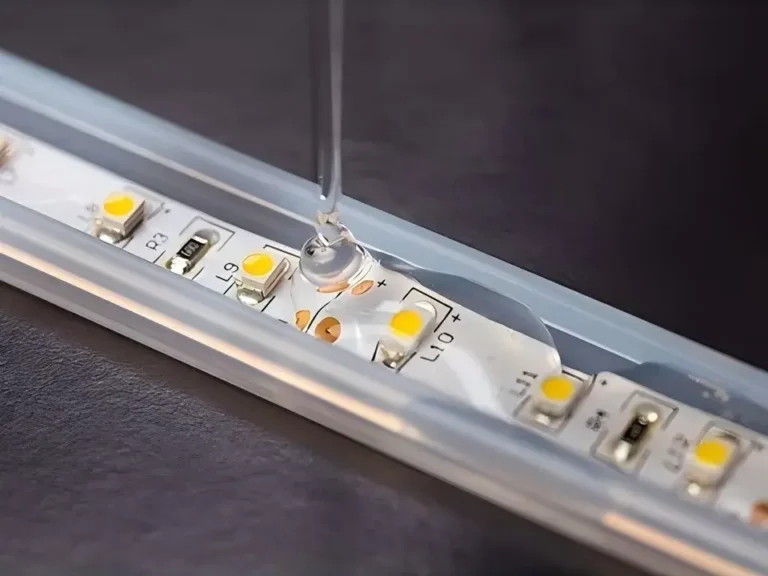
- Gắn dải đèn LED vào hồ sơ theo hướng dẫn của nhà sản xuất.


miễn phí cắt cao cri không chấm màu ánh sáng
Mô hình chính: FYX08T480C cắt miễn phí
Số lượng LED chip trên mỗi mét: 480chip
chuyện dữ dội: >90
chiều rộng pcb: 5mm/8mm
Nhiệt độ màu: 3000k/4000k/6000k
Điện áp đầu vào: DC12V/DC24V
Công suất trên mỗi mét: 6W / 9W
Chiều dài có thể cắt được: cắt xén tùy ý
Phiên bản không thấm nước: IP20/IP54/IP65/IP67/IP68
sự bảo đảm: 3 năm

MN0809A
$0.48-0.57/m

MN0809B
$0.56-0.67/m
Gắn các dải đèn LED vào tường
- Dán băng dính hai mặt vào mặt sau của hồ sơ.
- Cẩn thận nhấn vào hồ sơ dọc theo đường đi đã được lên kế hoạch trên tường gỗ, đảm bảo nó dính chắc chắn.
Kết nối nhiều dải (nếu cần)
- Nếu bạn có nhiều phân đoạn dải LED, hãy kết nối chúng bằng các đầu nối theo hướng dẫn của nhà sản xuất.
- Để có một cái nhìn gọn gàng, hãy giấu dây cáp phía sau bức tường gỗ hoặc dọc theo các cạnh của nó.
Kết nối với nguồn và kiểm tra
- Cắm nguồn điện vào ổ cắm gần đó.
- Kiểm tra đèn LED của bạn để đảm bảo mọi thứ hoạt động hoàn hảo. Thực hiện bất kỳ điều chỉnh cần thiết nào để có hiệu quả tốt nhất.
Hãy tận hưởng sự sáng tạo của bạn!
Bạn vừa biến bức tường ốp gỗ của mình thành một tính năng được chiếu sáng đầy phong cách! Nếu bạn gặp bất kỳ vấn đề nào hoặc cần trợ giúp thêm, vui lòng liên hệ với chúng tôi. Chúc bạn tự làm vui vẻ!

Lợi ích của việc lắp đặt đèn LED trên tường gỗ
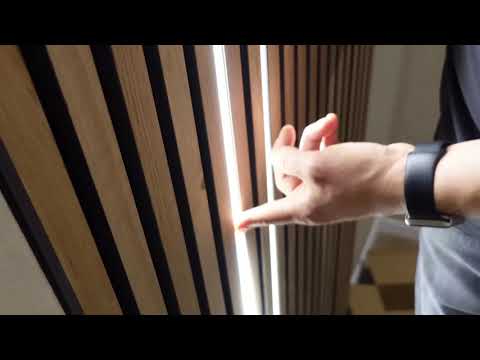
Tích hợp liền mạch với tường ốp gỗ
Tấm gỗ thường được gọi là tấm tường gỗ, và mỗi thanh được bố trí với các khoảng trống giữa chúng cho phép bổ sung ánh sáng LED. Dải đèn LED tất cả trong một chỉ cần quyết định kích thước mong muốn và sau đó lắp hoặc gắn chúng giữa các khe hở để tạo ra ánh sáng LED tích hợp liền mạch tạo ra một bầu không khí ấm cúng theo phong cách.
cung cấp khả năng vô tận
Đèn LED rất linh hoạt và mang đến khả năng vô tận cho không gian của bạn. Bạn có thể điều chỉnh ánh sáng phù hợp với không gian của căn phòng và nhu cầu của bạn. Ví dụ, bạn có thể thay đổi cường độ ánh sáng, kiểm soát nhiệt độ màu, thậm chí thêm hiệu ứng động. Bạn cũng có thể lắp đặt các tấm acoustic phía sau màn hình trong văn phòng của mình và bao quanh chúng bằng đèn LED để tạo ra một không gian làm việc phong cách và tập trung.
Tích hợp với ngôi nhà thông minh của bạn
Tích hợp liền mạch vào hệ sinh thái nhà thông minh hiện có của bạn, dải đèn LED ốp tường gỗ của chúng tôi tương thích với Phillips Hue, Google Home, Apple HomePod và Alexa, cung cấp cho bạn sự tiện lợi và kiểm soát vô song để biến không gian sống của bạn thành một môi trường hiện đại, kết nối. Cho dù bạn muốn tạo ra một đêm ấm cúng hoặc làm sáng không gian làm việc của bạn, khả năng là vô tận.
Tiết kiệm năng lượng và tiết kiệm chi phí
Đèn LED được thiết kế với hiệu quả năng lượng và hiệu quả chi phí. Công nghệ chiếu sáng LED tiêu thụ ít điện năng hơn các giải pháp chiếu sáng truyền thống, giúp bạn tiết kiệm tiền điện. Ngoài ra, tuổi thọ cao của đèn LED đảm bảo bạn có thể tận hưởng những lợi ích trong nhiều năm tới mà không cần thay thế thường xuyên.
Mẹo chọn dải đèn LED phù hợp
Khi chọn dải đèn LED, hãy tập trung vào các khía cạnh sau:
Chất lượng và thông số của chip LED: Tìm kiếm các dải có CRI cao, phát xạ ánh sáng xanh thấp và giá trị SDCM thấp để có chất lượng ánh sáng tốt hơn và bảo vệ mắt.
chất lượng bảng mạch: Chọn bảng mạ điện, vì chúng cung cấp độ dẫn điện và độ bền tốt hơn.
Chất lượng mặt sau kết dính: Chọn dải LED có keo 3M chính hãng cho độ bám dính chắc hơn và lâu hơn.
Chất lượng điện trở: Nói chung, điện trở ít quan trọng hơn trong việc lựa chọn vì sự khác biệt của chúng không rõ rệt
Khắc phục sự cố thường gặp
Dải đèn LED hoàn toàn không sáng
-Xác nhận rằng điện áp và dòng điện của nguồn điện của bạn tương thích với dải đèn LED của bạn.
-Xác nhận rằng nguồn điện của bạn đang hoạt động chính xác.
-Kiểm tra và cách ly các phụ kiện khác trên cùng một mạch.
-Kiểm tra mọi kết nối lỏng lẻo có thể nhìn thấy
- Kiểm tra các dấu hiệu ngắn mạch có thể nhìn thấy
-Kiểm tra các dấu hiệu ngắn mạch
Dải đèn LED mờ ở một đầu
-Kiểm tra thiết kế mạch của bạn, kết nối quá dài của một dải đèn LED sẽ vượt quá mức công suất cho các phần dải LED được kết nối gần nhất với nguồn điện.
-Kiểm tra điện trở, điện trở quá mức có thể do điện kém tiếp xúc và đồng ăn mòn. Kiểm tra hệ thống dây dẫn dải LED của bạn và đảm bảo tất cả các điểm tiếp xúc đều sạch sẽ và đủ.
-Điểm điện áp rơi, chỉ cần đo điện áp giữa các miếng đồng tại các điểm khác nhau dọc theo dải LED. Nếu điện áp giảm dần khi bạn di chuyển xa hơn nguồn điện, đây là dấu hiệu của sự sụt giảm điện áp.
Ý tưởng thiết kế sáng tạo
Bạn cũng có thể chọn các màu dải LED khác nhau để trang trí bảng tường của bạn!
Sự lựa chọn phổ biến nhất là màu trắng, có:
- Cool White (6000-7000K) - Tuyệt vời cho không gian mở như phòng khách và phòng hội nghị.
- Màu trắng tự nhiên (4000-4500K) - lý tưởng cho phòng học và văn phòng.
- Màu trắng ấm (2800-3500K) - Hoàn hảo cho các khu vực ấm cúng như phòng ngủ và phòng ăn.
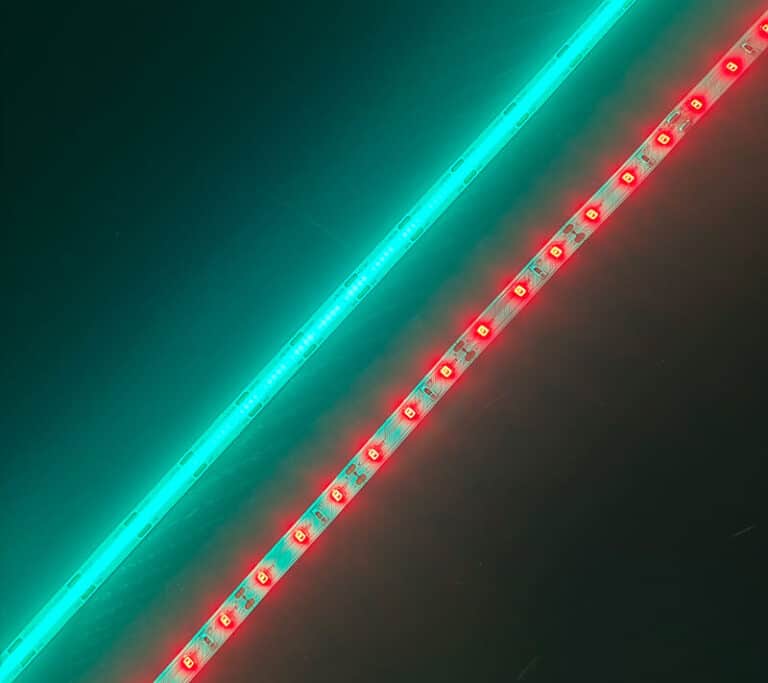
Tìm kiếm một cái gì đó nhiều màu sắc hơn? Hãy thử các dải thay đổi màu RGB, hiệu ứng đuổi theo IC RGB thông minh hoặc thậm chí là chế độ đuổi theo thác nước màu trắng.
Ngoài ra, bạn có thể ghép nối chúng với bộ điều khiển thông minh để kết nối liền mạch với các thiết bị gia đình khác của bạn.
Mẹo bảo trì và chăm sóc
Một trong những ưu điểm chính của dải đèn LED là tuổi thọ cao, thường kéo dài hơn 50.000 giờ. Tuy nhiên, cần phải bảo trì đúng cách để đảm bảo tuổi thọ và hiệu suất tối ưu.
Vệ sinh thường xuyên: Bụi bẩn có thể tích tụ trên bề mặt dải đèn LED, đặc biệt nếu chúng tiếp xúc với môi trường. Lau nhẹ các dải bằng một miếng vải mềm và khô để duy trì độ sáng và độ trong của chúng.
Kiểm tra thiệt hại: Kiểm tra định kỳ các dải đèn LED xem có dấu hiệu hao mòn hoặc hư hỏng, chẳng hạn như mờ hoặc nhấp nháy. Thay thế bất kỳ phần nào bị lỗi kịp thời để tránh ảnh hưởng đến chất lượng chiếu sáng tổng thể.
Thay thế nguồn điện: Nguồn điện cũng có thể cần phải được thay thế theo thời gian, đặc biệt nếu nó bị lỗi. Đảm bảo rằng nguồn điện thay thế phù hợp với thông số kỹ thuật của bản gốc.
Bài viết liên quan