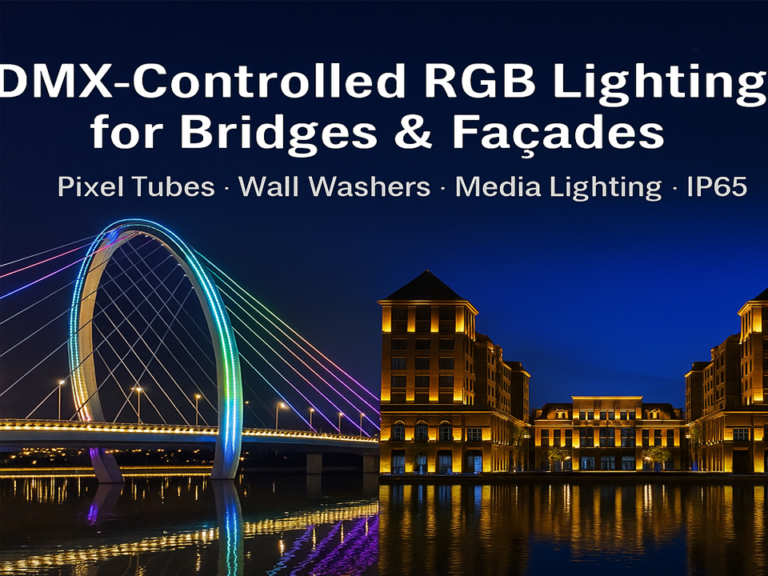
近年来,灵活的DMX512霓虹灯带已成为创意建筑和外墙照明的基石。 与传统的LED灯条不同,这些产品结合了硅胶外壳的灵活性与DMX512数字控制的精度,实现了像素级的动态效果、平滑的渐变和无限的设计可能性。 然而,这种复杂性也使它们的安装和调试要求更高。 接线或寻址过程中的一个小错误可能会导致信号丢失、颜色失真或不同步的影响。
本指南为承包商和照明专业人员提供了一个全面的路线图——从准备到最终验收——为从事 DMX512 霓虹灯 LED 灯带项目的专业人员提供。
安装前的准备工作:“在构建之前计划”
成功的 DMX512 照明项目在安装第一个灯条之前很久就开始了。
彻底了解设计图纸
在进入站点之前,请查看照明设计、接线图和动画预览。 识别条带分组、控制器位置和配电点。 有了这个心理“地图”,现场工作变得可预测和高效。

物料检验至关重要
LED 灯条:根据设计验证型号、长度和规格。 始终在现场切割并为测试段供电,以检查坏点、颜色一致性和亮度。 早期发现缺陷可防止昂贵的返工。
电源:仔细计算容量。 建议的规则是:总 PSU 容量 ≥ 1.5 × 总带电功率。 这一安全裕度确保了长期稳定性。
附件:夹子、端盖、防水粘合剂、连接器和信号电缆必须是完整的。 缺少附件 延迟安装和妥协可靠性。
安装:“详细定义结果”
柔性霓虹灯条耐用,但安装不当会迅速缩短其使用寿命。
表面准备
用酒精清洁安装表面,并在涂抹粘合剂衬垫之前使其完全干燥。 对于户外或天花板项目,仅粘合剂不足——使用专用夹子进行安全双重固定。 随着时间的推移,粘合剂会在热、灰尘和重力下失效。
弯曲和切割
条带可以水平弯曲,但严格禁止垂直扭曲和尖锐弯曲。 最小弯曲半径通常≥5cm。
切割只能在指定的剪刀标记点进行。 在其他地方切割会使整个细分市场无法使用。


电源和信号接线:“DMX512系统的核心”
DMX512 霓虹灯条对接线质量比传统条带更敏感。
电源策略
采用多点动力注入方式。 对于长跑,从不只从一端供电——电压下降会导致亮度下降和远端的颜色偏移。 相反,每 10-15 米直接从 PSU 注入电力。
信号接线标准
始终使用阻抗为 120 Ω 的屏蔽双绞线 DMX 电缆。 网络电缆不适合,它们缺乏屏蔽和适当的阻抗,因此容易受到干扰。
保持 DMX 信号电缆和高压 (220V) 电源线之间至少 30 厘米的间隔。 并行布线增加了电磁干扰风险。

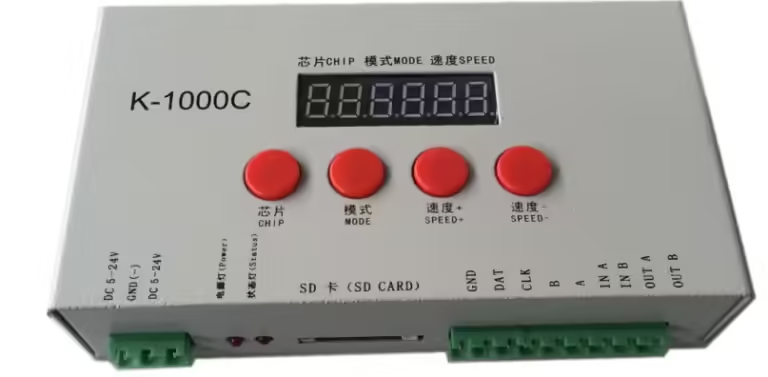
DMX 寻址和终止
地址设置:每个条段必须有一个唯一的起始地址。 根据以下公式使用 DIP 开关或软件配置:
起始地址 = (n – 1) × 通道数 + 1
终端电阻:在每条 DMX 线路的最后一个固定装置上安装一个 120 Ω 电阻。 没有这个,反射会导致闪烁、信号不稳定或随机行为。 这个小组件是系统稳定性的“守护者”。
调试和测试:“点亮愿景”
接线完成后,仔细调试可确保安装与设计意图相匹配。
上电过程
切勿一次为整个系统通电。 相反,逐段测试分段。 从控制器和 PSU 开始,然后逐渐连接条带,在继续之前验证每个部分是否正常工作。 这种方法可以快速隔离问题。
软件配置
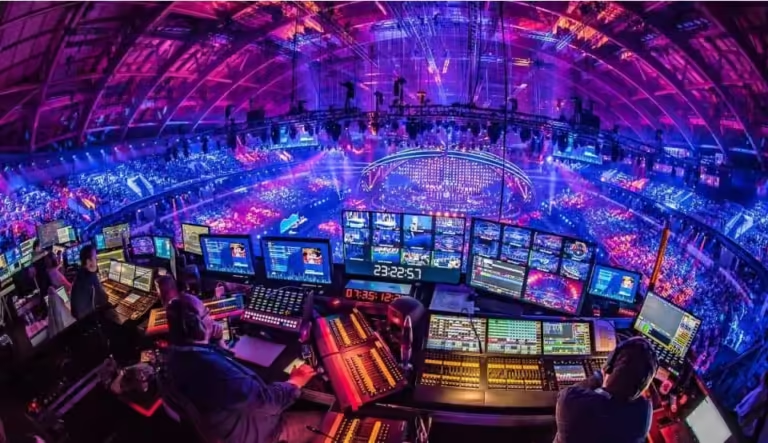
在控制软件(例如,Madrix、Resolume、Arkaos)中,设置正确的宇宙、输出端口和通道映射(取决于条带类型的 RGB 或 RGBW)。 确认每个段的 DMX 地址与设计相匹配。

效果验证
使用纯静态颜色(红色、绿色、蓝色、白色)来确认均匀性并消除坏点。
运行动态效果(如追逐、渐变或选通)以检查同步问题。 延迟或抖动表示信号完整性问题。
最后,将实时结果与原始设计动画进行比较,以确保客户的愿景得到充分实现。
最佳实践和专业提示
从实践经验来看,四大黄金法则总结了可靠的DMX512霓虹灯安装:
大量供电,在本地供电——使用足够的 PSU 容量并在多个点注入电力。
保护信号完整性 – 使用屏蔽 DMX 电缆并安装终端电阻器。
地址 逻辑上,有条不紊地测试——仔细分配和确认地址,逐段。
安装牢固,防止元素 - 夹子,防水和热管理对于户外耐用性至关重要。
另外:
始终允许长时间使用膨胀接头来解决硅胶外壳的热膨胀。
安装过程中的电源和信号电缆都要标记——这个小步骤可以节省以后的故障排除数小时。
将备用电源和连接器存放在现场,以便在调试期间立即更换。
结论
灵活的 DMX512 霓虹灯灯带的吸引力在于它们能够将静态建筑转变为动态的光线画布。 然而,这种能力带来了复杂性。 通过尊重充足的配电、强大的信号布线、精心的寻址和安全安装的原则,照明专业人员可以提供与最雄心勃勃的设计愿景相匹配的完美结果。
在外墙照明、主题娱乐或城市地标中,成功不仅取决于灯光的亮度,还取决于它们夜复一夜地表现的无缝性。 经过全面的准备、细致的执行和严格的测试,DMX512 NEON 项目可以从潜在的陷阱转变为发光的杰作。

与 Signliteled 合作,为您的下一个项目
SignliteLED 专注于高品质的 DMX512 柔性霓虹灯条和完整的控制解决方案。 凭借超过 15 年的全球认证和强大的工程团队,我们不仅为复杂的安装提供可靠的产品,还提供专业的技术支持。 无论您是工程承包商、经销商还是照明设计师,我们都可以根据您的项目需求提供定制解决方案。
相关文章