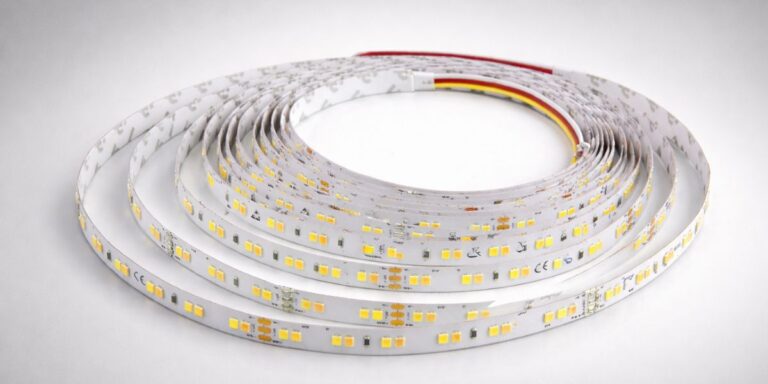
Модернизация старых светильников с современными Светодиодные линейные моду уже не просто вариант — это необходимость энергоэффективности и надежной работы. Традиционные люминесцентные или устаревшие светодиодные системы часто страдают от высокого энергопотребления, частого обслуживания и неравномерного освещения. Заменив эти приспособления на современные светодиодные линейные модули, предприятия и домовладельцы могут обеспечить лучшее освещение, более длительный срок службы и меньшую стоимость. В этой статье представлено практическое пошаговое руководство по замене светодиодных линейных модулей в старых светильниках, а также решения распространенных проблем модернизации.

Подготовка перед заменой
1. Проверить совместимость приспособлений
Перед заменой старого освещения светодиодными линейными модулями важно оценить, подходит ли приспособление конструктивно. В корпусе должно быть достаточно места для нового модуля и обеспечивать правильное позиционирование для равномерного распределения света. Управление теплом является еще одним ключевым фактором: светодиодные линейные модули требуют эффективной теплоотдачи для поддержания производительности и срока службы. Если приспособление имеет плохую вентиляцию или отсутствует металлическая основа для теплопередачи, для обеспечения безопасной эксплуатации могут потребоваться дополнительные настройки или комплект модернизации.
2. Определите существующий источник света
Тип источника света в вашем старом приспособлении определяет, как будет проходить модернизация. Если в приспособлении используются люминесцентные трубы, балласт должен быть обойден или снят, а также установлен совместимый светодиодный драйвер. Для более старых светодиодных модулей может потребоваться подтвердить, может ли существующий драйвер поддерживать требования напряжения и тока нового модуля. Во многих случаях замена или модернизация блока питания светодиодов обеспечивают оптимальную производительность и избегают таких проблем, как мерцание или снижение яркости.
3. Соберите необходимые инструменты
Наличие подходящих инструментов делает процесс замены светодиодного линейного модуля более плавным и безопасным. Как минимум, вам понадобится отвертка, плоскогубцы, проволочные фрезы и изолента. Настоятельно рекомендуется проверить, что питание полностью отключено перед запуском. Для инсталляций, включающих несколько светильников, также хорошей практикой также является использование изолированных перчаток и защитных очков. Правильная подготовка гарантирует, что процесс замены не только экономит время, но и снижает риск ошибок в проводке или опасности для безопасности.

Пошаговый процесс замены
1. Выключите питание и убедитесь в безопасностиярд
Первый и наиболее важный шаг при замене светодиодных линейных модулей — это полное отключение питания. Всегда выключайте автоматический выключатель или настенный выключатель, управляющий прибором, и подтверждайте с помощью тестера напряжения, что ток не течет. Безопасность не может быть завышена — работа с под напряжением представляет серьезную опасность поражения электрическим током. Ношение изолированных перчаток и защитных очков обеспечивает дополнительный уровень защиты во время процесса.
2. Снимите старый источник света и драйвер
После того, как с приспособлением будет безопасно обращаться, осторожно снимите крышку или диффузор и обнажите внутренние компоненты. Если старое приспособление флуоресцентное, отсоедините и снимите трубку и балласт. Для светильников, которые уже используют светодиодный линейный модуль, проверьте существующие спецификации драйверов. Если выходное напряжение и ток водителя совпадают с новым модулем, они могут быть использованы повторно для экономии времени и затрат. В противном случае лучше заменить его совместимым светодиодным драйвером, чтобы обеспечить стабильную производительность и долгосрочную надежность.
3. Установите новый светодиодный линейный модуль и драйвер
После очистки старых компонентов поместите новый светодиодный модуль LED внутри прибора. Плотно закрепите его винтами или монтажными зажимами, чтобы он был выровнен для равномерного освещения. Затем подключите провода от модуля к светодиодному драйверу, следуя правильной полярности и схеме подключения, предоставленной производителем. Следите за тем, чтобы изолировать соединения с помощью изоленты или разъемов, чтобы предотвратить короткое замыкание. Если установлен новый драйвер, установите его в месте с надлежащим потоком воздуха для поддержания теплоотдачи и долговечности.
4. Восстановите питание и проверьте прибор
Когда все соединения будут завершены, соберите приспособление, поставив крышку или диффузор на место. Восстановите питание на выключателе или выключателе и включите свет, чтобы проверить установку. Новый светодиодный линейный модуль должен мгновенно загораться с постоянной яркостью и отсутствием мерцания. Если возникают какие-либо проблемы, такие как диммирование или нерегулярное освещение, дважды проверьте проводку и совместимость драйверов. Успешное тестирование прибора гарантирует, что замена выполнена правильно и что модернизированная система освещения обеспечит ожидаемую экономию энергии и производительность.

Поиск и устранение неисправностей
1. Неправильный размер модуля или разъем
Одна из наиболее распространенных проблем при замене линейного модуля светодиодов заключается в том, что новый модуль не соответствует размеру приспособления или типу разъема. Если размеры или интерфейсы не выровнены, то принуждение к установке может повредить как модуль, так и корпус. Лучшее решение — связаться с поставщиком светодиодов, чтобы изменить порядок размера или запросить индивидуальный светодиодный модуль, разработанный для вашего приспособления. Работа с надежным поставщиком модификации светодиодов обеспечивает более плавный процесс модернизации.
2. Нет света после включения
Если светодиодный линейный модуль не включается после установки, начните с проверки проводки между модулем и драйвером. Неправильная полярность или незакрепленное соединение часто вызывают проблему. Убедитесь, что положительные и отрицательные провода подключены правильно, и убедитесь, что светодиодный драйвер правильно подключен к сети питания. С помощью тестера напряжения можно быстро определить, достигает ли питание драйвера и модуля.
3. мерцание во время работы
Мерцающие огни могут быть неприятными и обычно указывают на проблемы с проводкой или драйвером. Проверьте, нет ли соединений, которые могут прерывать ток. Другая возможность состоит в том, что выходное напряжение драйвера светодиодного индикатора не соответствует требованиям входа модуля. Если драйвер несовместим, замена его на правильно номинированную светодиодную электрическую систему устранит мерцание и защитит модуль от долгосрочных повреждений.
4. Проблемы с перегревом
Чрезмерное тепло сокращает срок службы светодиодных линейных модулей и может сигнализировать о неправильной установке. Убедитесь, что модуль полностью присоединен к радиатору или металлическому корпусу прибора, чтобы обеспечить эффективную теплопередачу. Плохая вентиляция в приборе также может вызвать отопление. В некоторых случаях проблема заключается в том, что слишком большой драйвер, выдающий больше тока, чем рассчитан на модуль. Переключение на драйвер с более низким питанием с правильным выходом предотвращает перегрев и защищает светодиодную систему.

Основные преимущества обновления до светодиодных линейных модулей
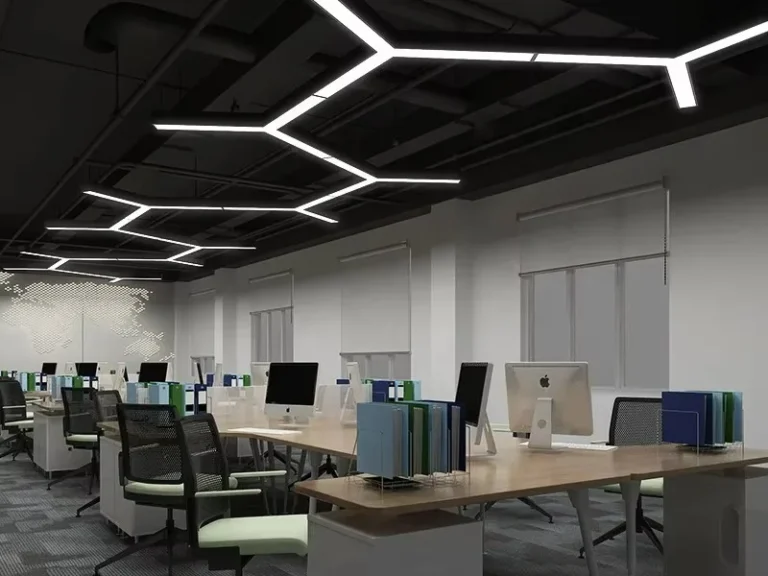
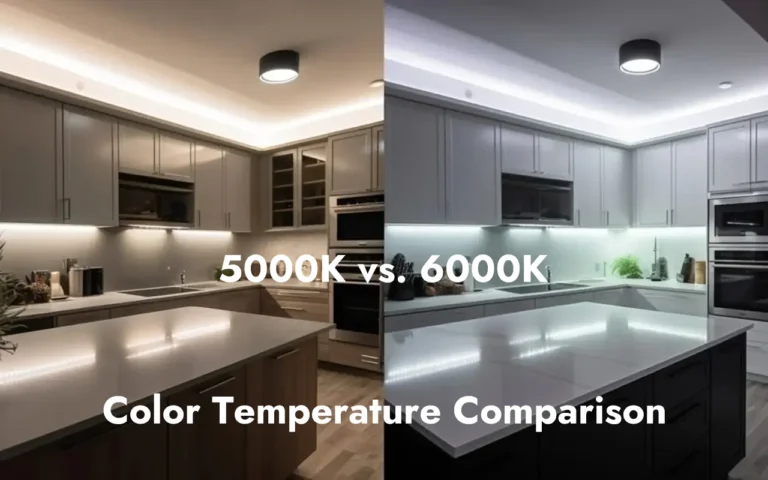
Замена старых светильников на светодиодные линейные модули приносит явные преимущества. Энергоэффективность является наиболее значительной, поскольку светодиоды потребляют до 60% меньше мощности, чем традиционное освещение, обеспечивая более яркую и более равномерную подсветку. Более длительный срок службы также снижает частоту обслуживания, снижая общие эксплуатационные расходы. Кроме того, светодиодные линейные модули обеспечивают гибкость в цветовой температуре, варианты затемнения и совместимость с интеллектуальным управлением, что делает их подходящими как для коммерческих, так и для жилых приложений.
В Signliteled мы специализируемся на настройке светодиодных линейных модулей, адаптированных к вашим требованиям проекта. Наша команда предлагает решения, обеспечивающие надежность и эффективность, от печатной платы и легкого двигателя до тестирования производительности и обеспечения качества. Имея многолетний опыт и большой опыт работы на мировых рынках, Signleteled является надежным партнером по оптовым заказам и индивидуальным решениям для модернизации светодиодных светодиодов. Свяжитесь с нами сегодня, чтобы обсудить, как мы можем поддержать ваши обновления освещения. Если вы заинтересованы в получении дополнительной информации о LED Linear Module, проверьте эту статью: Светодиодный линейный модуль Полное руководство: структура, драйверы и приложения
Похожие посты