English
  简体中文
简体中文  Deutsch
  Español
  Français
  Italiano
  日本語
日本語  한국어
한국어  Polski
  Português
  Русский
  Türkçe
  Nederlands
  Tiếng Việt
  ไทย
ไทย 
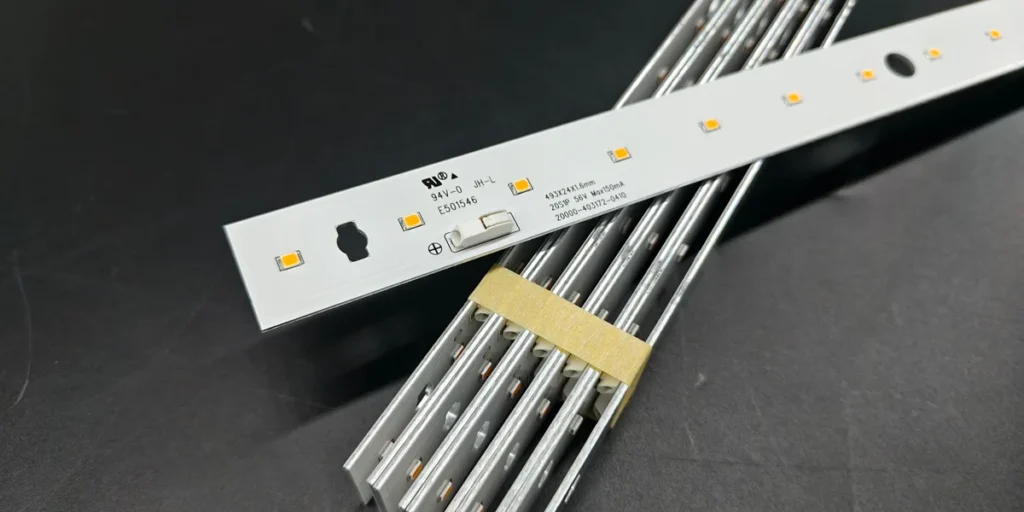
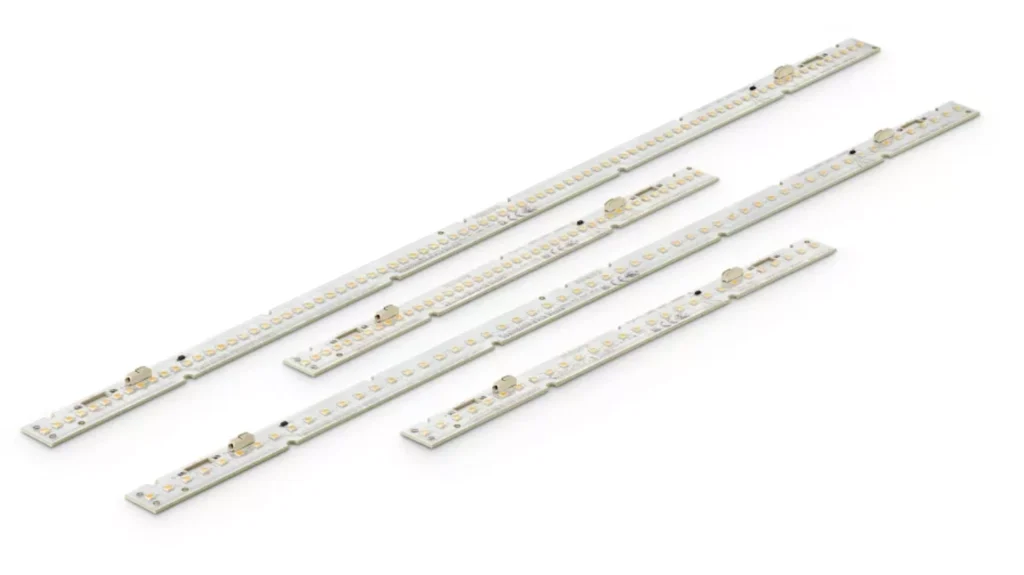
Upgrading old fixtures with modern LED linear modules is no longer just an option—it’s a necessity for energy efficiency and reliable performance. Traditional fluorescent or outdated LED systems often suffer from high energy consumption, frequent maintenance, and uneven lighting. By replacing these fixtures with advanced LED linear modules, businesses and homeowners can achieve better illumination, longer lifespan, and reduced costs. This article provides a practical, step-by-step guide on how to replace LED linear modules in old fixtures, along with solutions to common retrofit challenges.
Preparation Before Replacement
1. Check Fixture Compatibility
Before replacing old lighting with LED linear modules, it is important to evaluate whether the fixture is structurally suitable. The housing should have enough space for the new module and allow proper positioning for even light distribution. Heat management is another key factor—LED linear modules require effective thermal dissipation to maintain performance and lifespan. If the fixture has poor ventilation or lacks a metal base for heat transfer, additional adjustments or a retrofit kit may be necessary to ensure safe operation.
2. Identify the Existing Light Source
The type of light source in your old fixture determines how the retrofit will proceed. If the fixture uses fluorescent tubes, the ballast must be bypassed or removed, and a compatible LED driver installed. For older LED modules, you may need to confirm whether the existing driver can support the new module’s voltage and current requirements. In many cases, replacing or upgrading the LED power supply ensures optimal performance and avoids issues such as flickering or reduced brightness.
3. Gather the Required Tools
Having the right tools ready makes the LED linear module replacement process smoother and safer. At minimum, you will need a screwdriver, pliers, wire cutters, and electrical tape. A voltage tester is strongly recommended to confirm that power is completely disconnected before starting. For installations involving multiple fixtures, using insulated gloves and protective eyewear is also a good practice. Proper preparation ensures that the replacement process not only saves time but also reduces the risk of wiring mistakes or safety hazards.
Step-by-Step Replacement Process
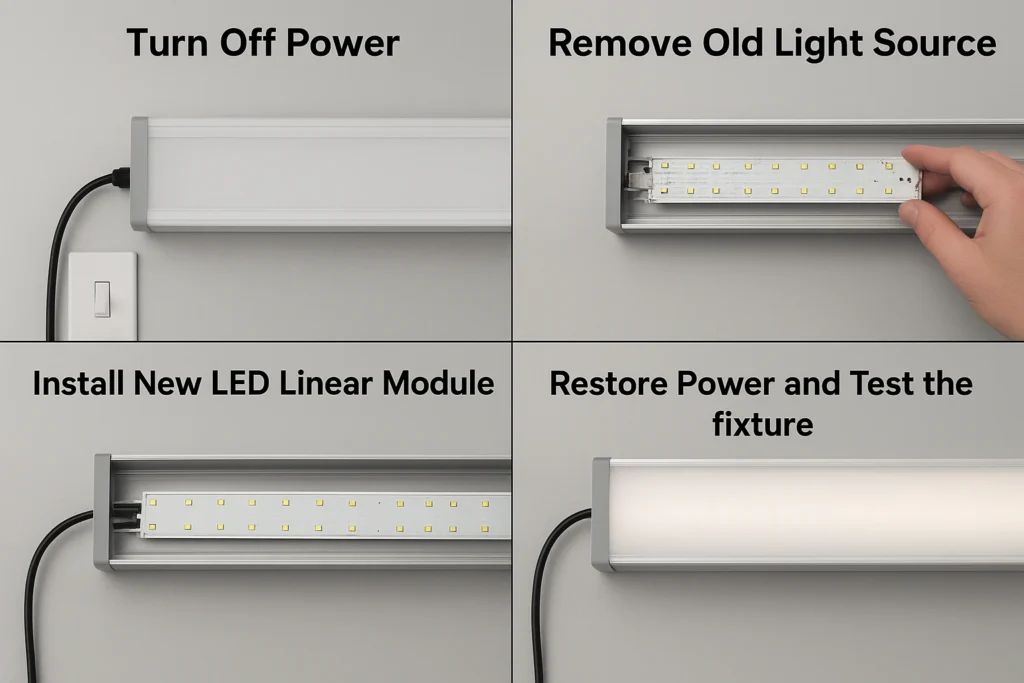
1. Turn Off Power and Ensure Safety
The first and most critical step when replacing LED linear modules is to completely cut off the power supply. Always switch off the circuit breaker or wall switch controlling the fixture and confirm with a voltage tester that no current is flowing. Safety cannot be overstated—working with live wires poses serious risks of electric shock. Wearing insulated gloves and safety glasses provides an extra layer of protection during the process.
2. Remove the Old Light Source and Driver
Once the fixture is safe to handle, carefully remove the cover or diffuser and expose the internal components. If the old fixture is fluorescent, disconnect and remove the tube and ballast. For fixtures that already use an LED linear module, check the existing driver specifications. If the driver’s output voltage and current match the new module, it may be reused to save time and cost. Otherwise, it is best to replace it with a compatible LED driver to ensure stable performance and long-term reliability.
3. Install the New LED Linear Module and Driver
After clearing the old components, position the new LED linear module inside the fixture. Secure it firmly using screws or mounting clips, making sure it is aligned for even illumination. Next, connect the wires from the module to the LED driver, following the correct polarity and wiring diagram provided by the manufacturer. Take care to insulate connections with electrical tape or connectors to prevent short circuits. If a new driver is being installed, mount it in a location with proper airflow to support heat dissipation and durability.
4. Restore Power and Test the Fixture
When all connections are complete, reassemble the fixture by putting the cover or diffuser back in place. Restore power at the breaker or switch and turn on the light to test the installation. The new LED linear module should illuminate instantly with consistent brightness and no flickering. If any issues arise, such as dimming or irregular light output, double-check the wiring and driver compatibility. Successfully testing the fixture ensures the replacement is done correctly and that the upgraded lighting system will deliver the expected energy savings and performance.
Troubleshooting Common Issues
1. Incorrect Module Size or Connector
One of the most common issues during LED linear module replacement is finding that the new module does not match the fixture in size or connector type. If the dimensions or interfaces do not align, forcing the installation can damage both the module and the housing. The best solution is to contact your LED supplier to reorder the correct size or request a customized LED linear module designed for your fixture. Working with a reliable LED retrofit supplier ensures a smoother upgrade process.
2. No Light After Power On
If the LED linear module does not turn on after installation, start by checking the wiring between the module and the driver. Incorrect polarity or a loose connection often causes the problem. Ensure the positive and negative wires are properly connected, and confirm that the LED driver is correctly linked to the mains supply. Using a voltage tester can quickly determine whether the power is reaching the driver and the module.
3. Flickering During Operation
Flickering lights can be frustrating and usually indicate wiring or driver issues. Check for poor connections that may interrupt current flow. Another possibility is that the LED driver’s output voltage does not match the module’s input requirements. If the driver is incompatible, replacing it with a properly rated LED power supply will eliminate the flicker and protect the module from long-term damage.
4. Overheating Problems
Excessive heat shortens the lifespan of LED linear modules and may signal improper installation. Ensure that the module is fully attached to the fixture’s heat sink or metal housing to allow effective thermal transfer. Poor ventilation in the fixture can also cause heat buildup. In some cases, the problem is an oversized driver delivering more current than the module is rated for. Switching to a lower-power driver with the correct output prevents overheating and safeguards the LED system.

Key Benefits of Upgrading to LED Linear Modules
Replacing old fixtures with LED linear modules brings clear advantages. Energy efficiency is the most significant, as LEDs consume up to 60% less power than traditional lighting while providing brighter, more uniform illumination. Longer service life also reduces the frequency of maintenance, lowering overall operating costs. Additionally, LED linear modules offer flexibility in color temperature, dimming options, and smart control compatibility, making them suitable for both commercial and residential applications.
At SignliteLED, we specialize in customizing LED linear modules tailored to your project requirements. From PCB and light engine design to performance testing and quality assurance, our team delivers solutions that ensure reliability and efficiency. With years of expertise and a strong track record in global markets, SignliteLED is the trusted partner for bulk orders and custom LED retrofit solutions. Contact us today to discuss how we can support your lighting upgrades. If you are interested in getting more information about LED linear module, check this article: LED Linear Module Complete Guide: Structure, Drivers, and Applications
Related Posts