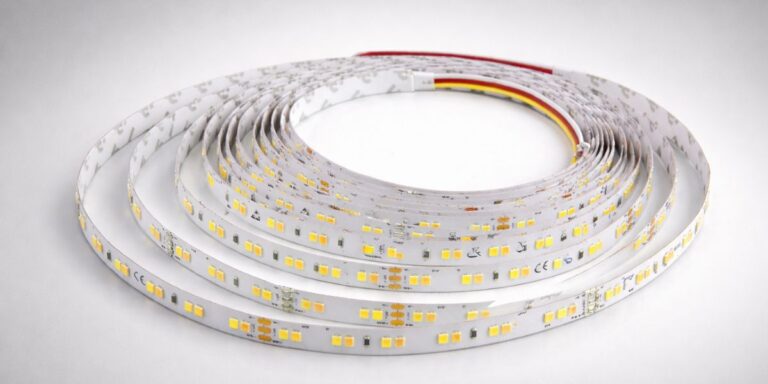
Nếu bạn định mua gương phòng tắm hoặc gương trang điểm, bạn sẽ thấy hầu hết các gương thời trang đều được thiết lập với các dải đèn LED tích hợp. Dải này cung cấp ánh sáng đồng đều, mềm và đủ, giảm bóng và phản xạ tốt hơn cho việc chải chuốt và trang điểm. Cách thêm dải LED vào gương hiện có, hãy làm theo các bước dưới đây.
Tự làm cho bạn sở hữu gương phòng tắm đèn LED
Cách sửa dải đèn LED vào gương
Vật liệu cần thiết:
* Dải LED với băng keo hai mặt (hoặc keo dán riêng biệt nếu cần)
* Cồn cọ xát và vải (để làm sạch)
* Kéo (để cắt dải LED, nếu cần)
* Nguồn điện và bộ điều khiển (nếu cần)
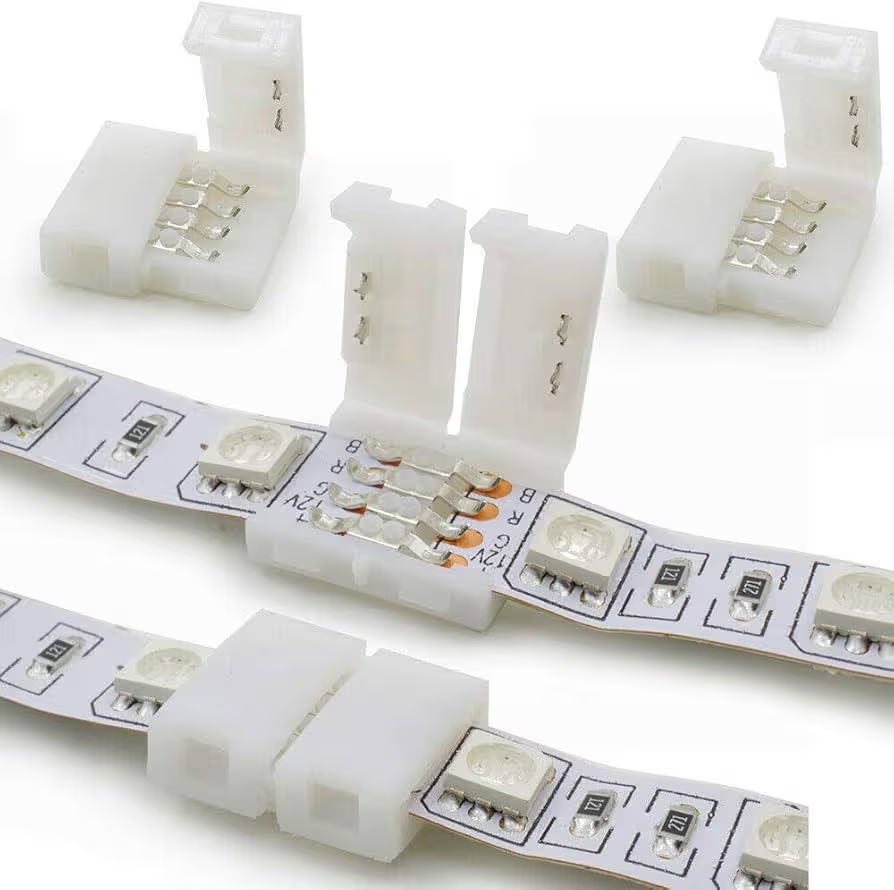
* Đầu nối góc hoặc bộ hàn (nếu cắt và kết nối lại dải)
* Clip hoặc dấu ngoặc (tùy chọn, để bảo mật thêm)
* bộ khuếch tán hoặc ống neo tẹt (tùy chọn, cho ánh sáng mềm)
Các bước:
1. Xác định nơi sửa dải đèn LED
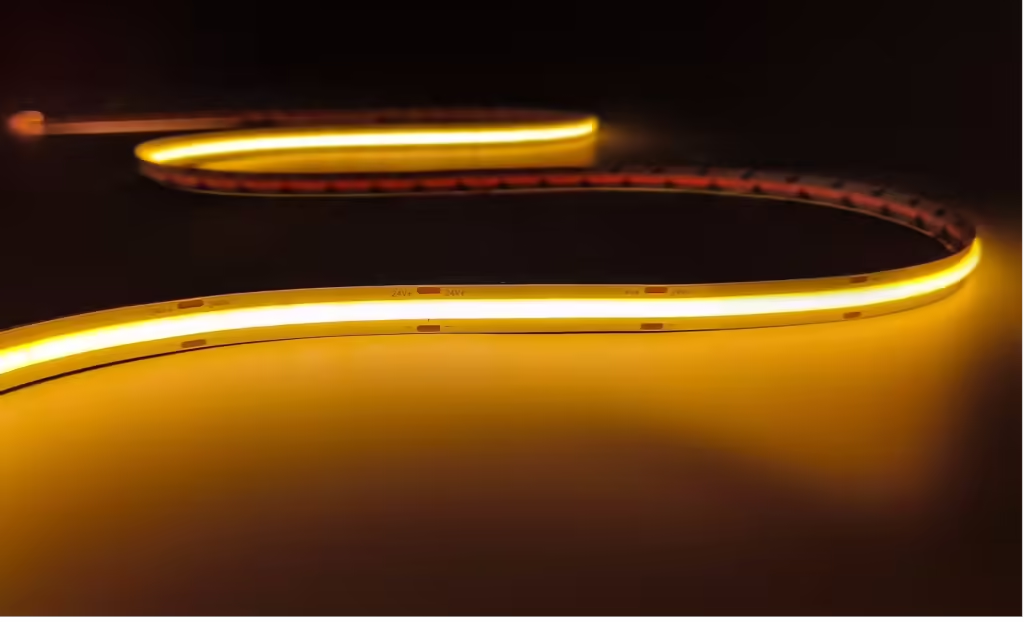
* Lắp đặt phía trước: Để có ánh sáng sáng hơn, bạn có thể sửa dải đèn LED ở mặt trước, trực tiếp lên mặt. Nhưng điều này có thể chói mắt, tốt hơn là chọn ánh sáng dải COB với công suất thấp, CYX08T480X Là một lựa chọn tốt cho bạn, nó không tì vết cho đèn đồng nhất, góc chùm 180 độ cho đèn mềm và CRI90 để kết xuất màu tốt hơn.
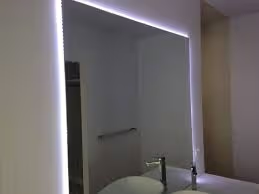
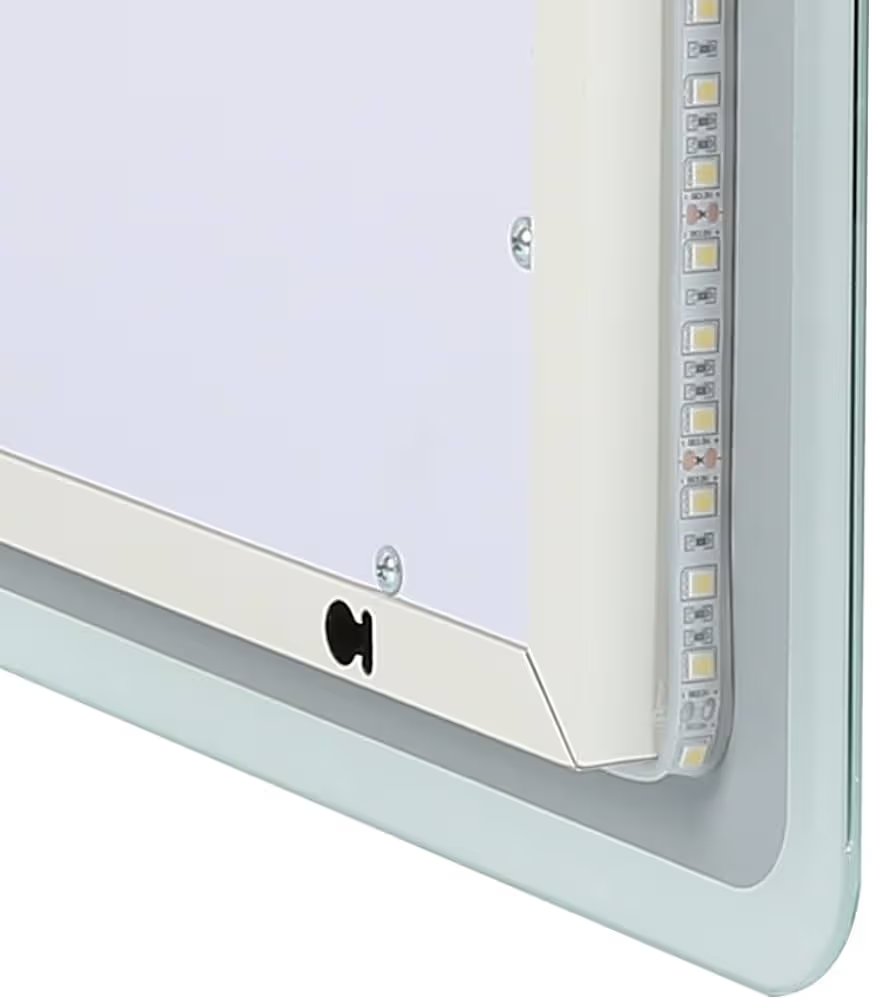
* LẠI LẠI: Đèn đồng đều và mềm mại hơn khi đặt dải trên mặt sau của gương, việc lắp đặt gián tiếp này là giải pháp tốt nhất, nhưng gương phải di chuyển và có khoảng cách nhất định giữa gương và tường.
* Cài đặt bên: Nếu nó đòi hỏi quá nhiều công việc để cài đặt nó ở mặt sau, bạn cũng có thể sửa dải ở mặt bên của gương nếu thiết bị cố định có đủ không gian.

2. Lập kế hoạch bố trí và đo lường
Lập kế hoạch bố trí, xác định bạn sẽ cần bao nhiêu mét cho gương và bạn sẽ đặt mặt vào của dải càng gần ổ cắm càng tốt, để có tính thẩm mỹ.
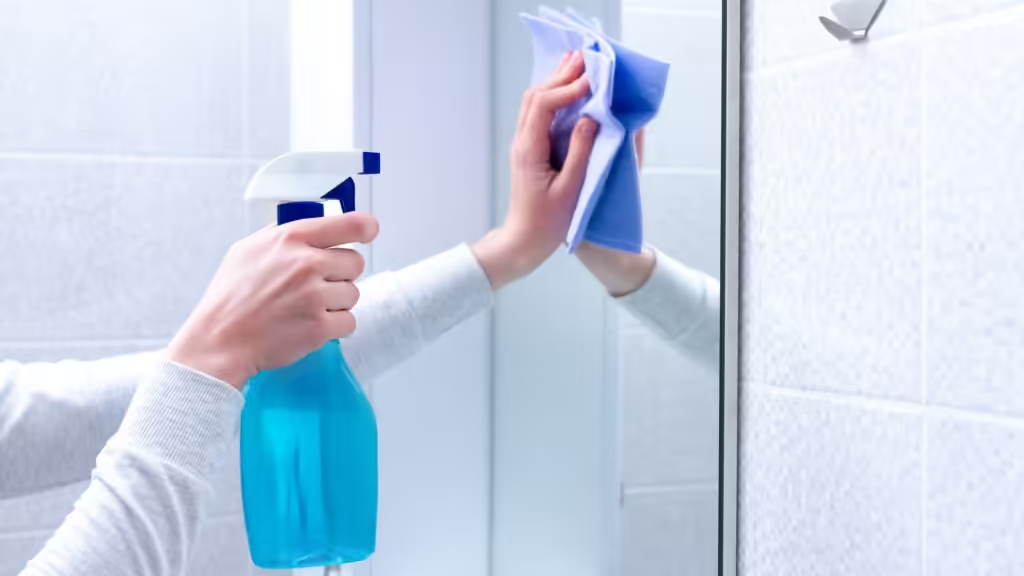
3. Làm sạch bề mặt
Làm sạch là bước cần thiết để đảm bảo các dải dính đúng vào khu vực gương nơi bạn định sửa. Sử dụng cồn tẩy rửa và một miếng vải để loại bỏ bụi, dầu và các chất cặn khác.
4. Cắt và kết nối dải LED (nếu cần)
Nếu bạn sẽ sử dụng các đầu nối ở các góc, hãy cắt dải theo độ dài mong muốn, đảm bảo bạn cắt ở các điểm chính xác để tránh làm hỏng mạch. Nếu bạn không cắt dải ở giữa, bạn có thể cắt nó sau khi dán nó vào gương.
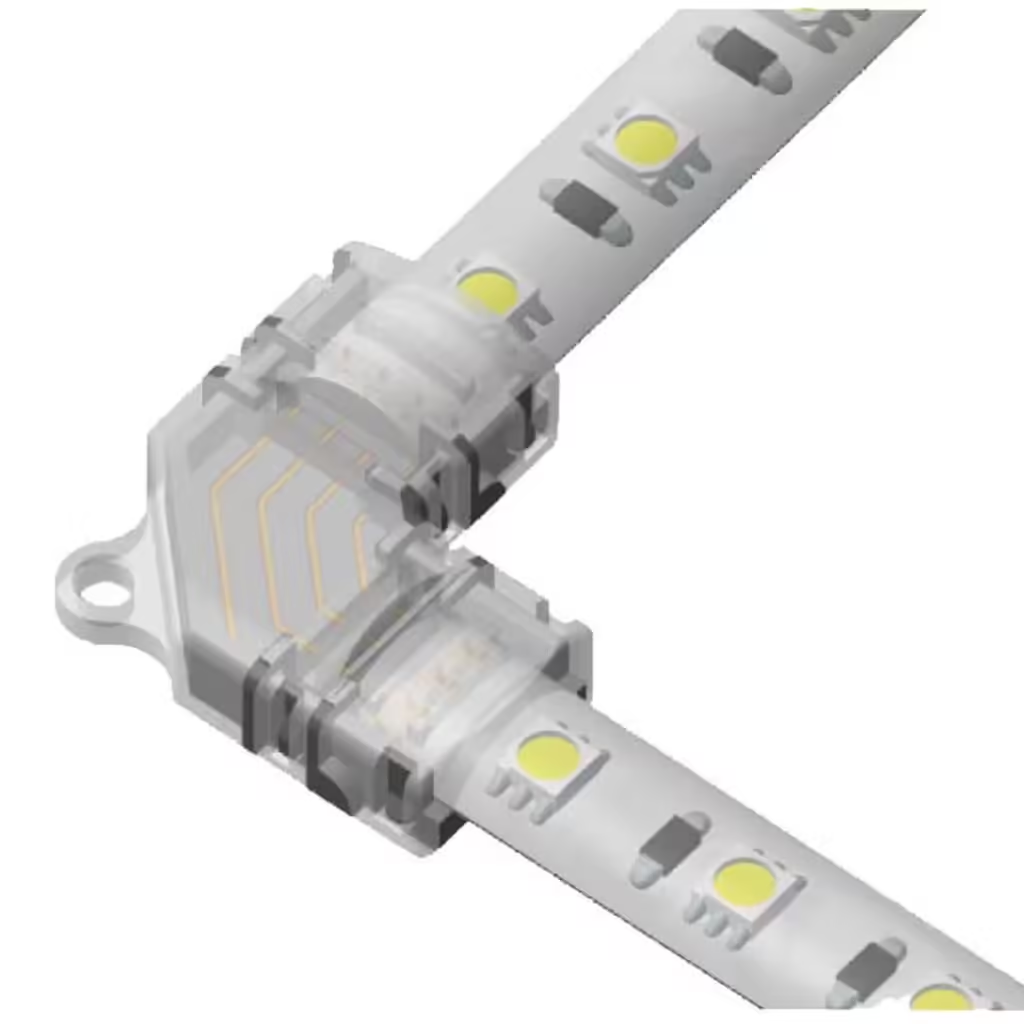
Kết nối các dải với nhau bằng bộ hàn hoặc đầu nối không hàn nếu cần cho gương lớn. Đầu nối không thấm hàn không thấm nước rất được khuyến khích cho các dải chống thấm, nó không yêu cầu bộ hàn và làm sạch keo, ít phải làm hơn nhiều.
5. Lắp đặt dải đèn LED
Bóc lớp nền từ băng dính trên dải đèn LED và cẩn thận ấn nó lên bề mặt đã làm sạch của gương. Bắt đầu từ một đầu và dọc theo cách bố trí bạn đã lên kế hoạch, đảm bảo dải dính chặt chẽ và đều.
Nếu keo không đủ mạnh, bạn có thể sử dụng keo dán silicon hoặc kẹp / kẹp nhỏ để tránh rơi ra.
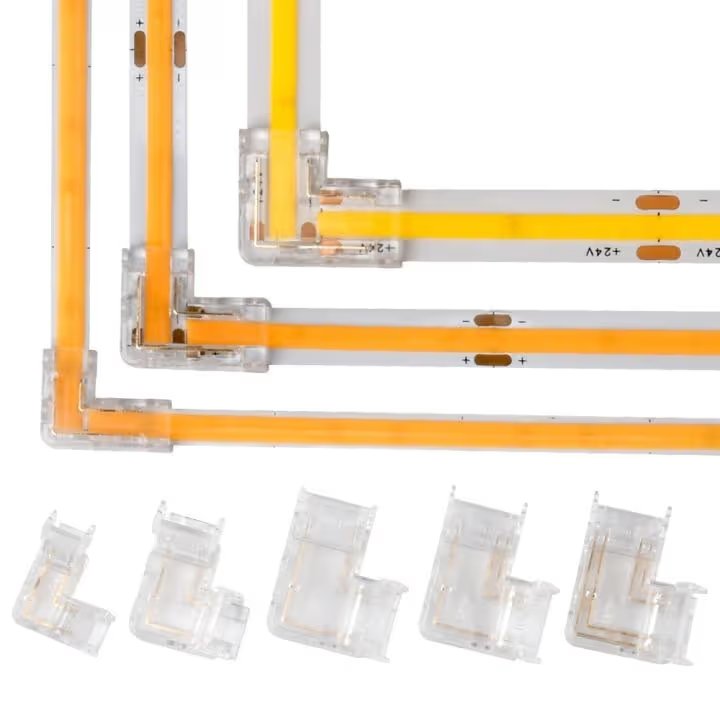
6. Bảo vệ các góc
Nếu dải của bạn cần đi vòng quanh các góc, hãy sử dụng đầu nối góc (“L kiểu “L”). Hoặc cẩn thận uốn cong dải dưới dạng vòng lặp, nhưng điều này có thể gây ra điểm nóng. Ngoài ra, bạn có thể cắt và kết nối lại các dải bằng bộ hàn.
7 . Kết nối với nguồn điện
Sau khi dải được gắn vào, hãy kết nối nó với nguồn điện. Đảm bảo nguồn điện được đánh giá đúng cho yêu cầu điện áp và công suất của dải LED. chọn Nguồn điện chống thấm Nếu nó được sử dụng trong phòng tắm hoặc vị trí ẩm ướt khác.
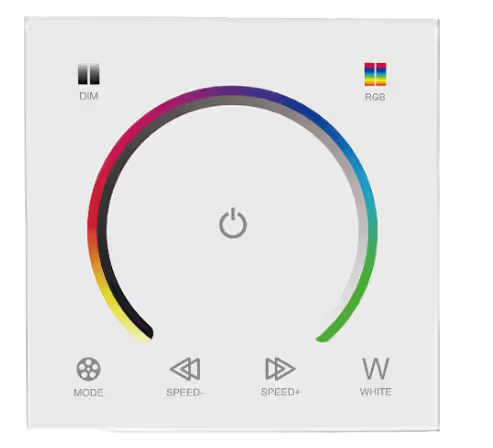
Nếu bạn đang sử dụng bộ điều khiển để làm mờ hoặc thay đổi màu sắc, hãy kết nối dải với bộ điều khiển theo hướng dẫn, bảng điều khiển cảm ứng sẽ là một lựa chọn tốt.
8. Kiểm tra ánh sáng
Sau khi kết nối nguồn điện, hãy kiểm tra dải đèn LED để đảm bảo nó hoạt động chính xác. Kiểm tra bất kỳ kết nối lỏng lẻo hoặc khu vực nào mà dải không được bám đúng và thực hiện các điều chỉnh nếu cần
9. Tùy chọn: Thêm bộ khuếch tán hoặc khung
Nếu bạn muốn làm mềm ánh sáng, hãy xem xét thêm một bộ khuếch tán (hồ sơ nhôm) hoặc ống neon.
Bạn có thể thực hiện ánh sáng gián tiếp bằng cách thêm một khung vào mặt sau của gương và sửa các dải đèn LED trên đó, kiểm tra video ở đầu bài viết này.
đầu
* CRI càng cao thì càng tốt. Dải LED CRI90 ngăn màu sắc tốt hơn, có nghĩa là bạn trông thật hơn từ gương.
* Nhận trình điều khiển LED không thấm nước và dải cho gương ở vị trí ẩm ướt, trong trường hợp nó bị cháy do nước bắn vào.
* Sử dụng đầu nối không thấm nước hàn, nhanh, bền và thẩm mỹ.
* Tốt hơn nên định vị dải đèn LED ở mặt sau của gương để chiếu sáng gián tiếp phản chiếu khỏi tường.
* Cắt dải tại các điểm cắt để tránh làm hỏng dải đèn LED.
* Chọn bộ điều khiển cảm ứng để điều khiển dễ dàng hơn.
Tự làm đèn gương của riêng bạn bằng cách thực hiện các bước này, siêu dễ dàng!
Bài viết liên quan