Nâng cấp đồ đạc cũ với hiện đại Mô-đun tuyến tính LED không còn chỉ là một lựa chọn nữa — đó là điều cần thiết cho hiệu quả năng lượng và hiệu suất đáng tin cậy. Hệ thống đèn LED huỳnh quang hoặc lỗi thời truyền thống thường bị tiêu thụ năng lượng cao, bảo trì thường xuyên và chiếu sáng không đồng đều. Bằng cách thay thế các thiết bị này bằng các mô-đun tuyến tính LED tiên tiến, các doanh nghiệp và chủ nhà có thể đạt được độ chiếu sáng tốt hơn, tuổi thọ cao hơn và giảm chi phí. Bài viết này cung cấp hướng dẫn thực tế, từng bước về cách thay thế các mô-đun tuyến tính LED trong các thiết bị cũ, cùng với các giải pháp cho những thách thức trang bị thêm phổ biến.

Chuẩn bị trước khi thay thế
1. Kiểm tra tính tương thích của vật cố định
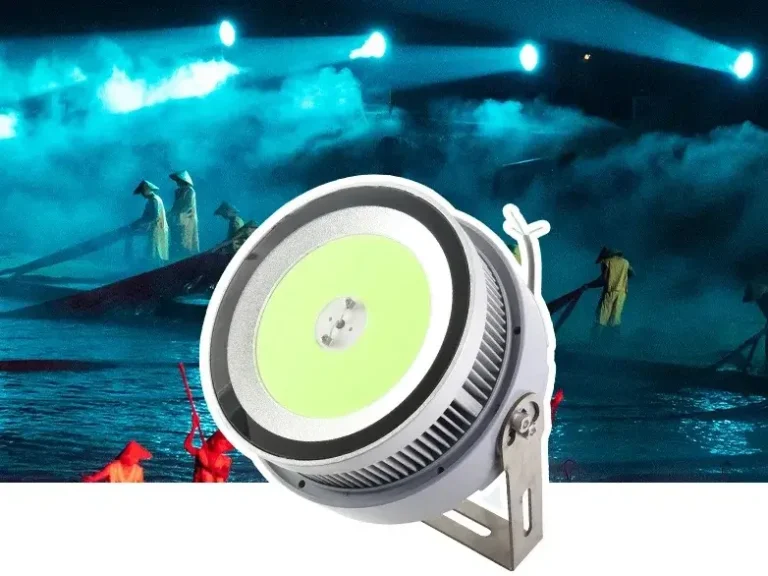
Trước khi thay thế ánh sáng cũ bằng các mô-đun tuyến tính LED, điều quan trọng là phải đánh giá xem liệu vật cố định có phù hợp về mặt cấu trúc hay không. Vỏ phải có đủ không gian cho mô-đun mới và cho phép định vị thích hợp để phân phối ánh sáng đồng đều. Quản lý nhiệt là một yếu tố quan trọng khác — các mô-đun tuyến tính LED đòi hỏi sự tản nhiệt hiệu quả để duy trì hiệu suất và tuổi thọ. Nếu vật cố định có hệ thống thông gió kém hoặc thiếu đế kim loại để truyền nhiệt, có thể cần điều chỉnh bổ sung hoặc bộ trang bị thêm để đảm bảo hoạt động an toàn.
2. Xác định nguồn sáng hiện có
Loại nguồn sáng trong thiết bị cũ của bạn xác định cách thức trang bị thêm sẽ tiến hành. Nếu vật cố định sử dụng ống huỳnh quang, chấn lưu phải được bỏ qua hoặc tháo ra, và một trình điều khiển LED tương thích được lắp đặt. Đối với các mô-đun LED cũ hơn, bạn có thể cần xác nhận xem trình điều khiển hiện có có thể hỗ trợ các yêu cầu điện áp và dòng điện của mô-đun mới hay không. Trong nhiều trường hợp, việc thay thế hoặc nâng cấp nguồn điện LED đảm bảo hiệu suất tối ưu và tránh các vấn đề như nhấp nháy hoặc giảm độ sáng.
3. Thu thập các công cụ cần thiết
Chuẩn bị sẵn các công cụ phù hợp giúp quá trình thay thế mô-đun tuyến tính LED mượt mà và an toàn hơn. Ít nhất, bạn sẽ cần một tuốc nơ vít, kìm, máy cắt dây và băng keo điện. Một máy đo điện áp được khuyến nghị để xác nhận rằng nguồn điện bị ngắt hoàn toàn trước khi khởi động. Đối với các công trình lắp đặt liên quan đến nhiều đồ đạc, sử dụng găng tay cách nhiệt và kính bảo vệ cũng là một thực hành tốt. Chuẩn bị đúng cách đảm bảo quá trình thay thế không chỉ giúp tiết kiệm thời gian mà còn giảm nguy cơ mắc lỗi dây điện hoặc các nguy cơ an toàn.

Quy trình thay thế từng bước
1. Tắt nguồn và đảm bảo an toànys
Bước đầu tiên và quan trọng nhất khi thay thế các mô-đun tuyến tính LED là cắt hoàn toàn nguồn điện. Luôn tắt bộ ngắt mạch hoặc công tắc tường điều khiển thiết bị cố định và xác nhận với máy đo điện áp rằng không có dòng điện nào chạy qua. An toàn không thể được phóng đại quá — làm việc với dây điện trực tiếp gây ra những nguy cơ nghiêm trọng khi bị điện giật. Mang găng tay cách nhiệt và kính an toàn cung cấp thêm một lớp bảo vệ trong quá trình này.
2. Tháo nguồn sáng và trình điều khiển cũ
Khi vật cố định đã an toàn để xử lý, hãy cẩn thận tháo nắp hoặc bộ khuếch tán và để lộ các thành phần bên trong. Nếu thiết bị cũ có huỳnh quang, hãy ngắt kết nối và tháo ống và chấn lưu. Đối với các thiết bị đã sử dụng mô-đun tuyến tính LED, hãy kiểm tra các thông số kỹ thuật của trình điều khiển hiện có. Nếu điện áp đầu ra và dòng điện của trình điều khiển khớp với mô-đun mới, nó có thể được sử dụng lại để tiết kiệm thời gian và chi phí. Nếu không, tốt nhất là thay thế nó bằng một trình điều khiển LED tương thích để đảm bảo hiệu suất ổn định và độ tin cậy lâu dài.
3. Cài đặt mô-đun tuyến tính LED mới và trình điều khiển
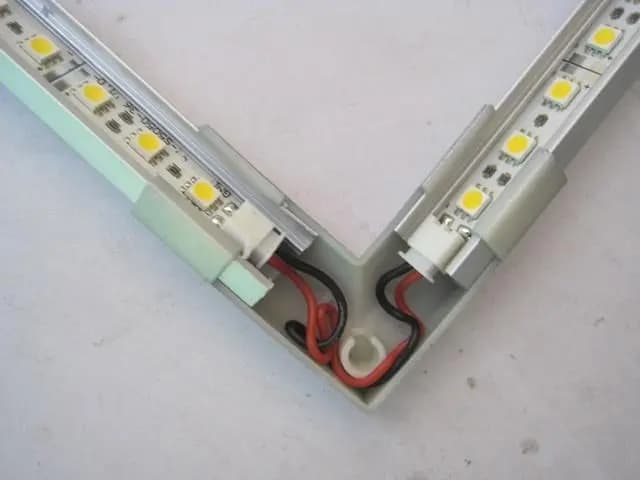
Sau khi xóa các thành phần cũ, hãy đặt mô-đun tuyến tính LED mới vào bên trong thiết bị cố định. Cố định nó bằng vít hoặc kẹp gắn chắc chắn, đảm bảo nó được căn chỉnh để chiếu sáng đồng đều. Tiếp theo, kết nối các dây từ mô-đun với trình điều khiển LED, theo đúng sơ đồ đấu dây và phân cực chính xác do nhà sản xuất cung cấp. Chú ý cách điện các kết nối bằng băng hoặc đầu nối để tránh ngắn mạch. Nếu một trình điều khiển mới đang được lắp đặt, hãy gắn nó vào vị trí có luồng không khí thích hợp để hỗ trợ tản nhiệt và độ bền.
4. Khôi phục nguồn điện và kiểm tra đồ đạc
Khi tất cả các kết nối hoàn tất, lắp ráp lại vật cố định bằng cách đặt nắp hoặc bộ khuếch tán trở lại vị trí cũ. Khôi phục nguồn điện ở cầu dao hoặc công tắc và bật đèn để kiểm tra cài đặt. Mô-đun tuyến tính LED mới sẽ chiếu sáng ngay lập tức với độ sáng nhất quán và không nhấp nháy. Nếu có bất kỳ vấn đề nào phát sinh, chẳng hạn như làm mờ hoặc không đều ánh sáng, hãy kiểm tra lại hệ thống dây điện và khả năng tương thích của trình điều khiển. Kiểm tra thành công vật cố định đảm bảo việc thay thế được thực hiện chính xác và hệ thống chiếu sáng được nâng cấp sẽ mang lại hiệu suất và tiết kiệm năng lượng dự kiến.

Khắc phục sự cố thường gặp
1. Kích thước mô-đun hoặc đầu nối không chính xác
Một trong những vấn đề phổ biến nhất trong quá trình thay thế mô-đun tuyến tính LED là nhận thấy rằng mô-đun mới không khớp với thiết bị cố định về kích thước hoặc loại đầu nối. Nếu kích thước hoặc giao diện không căn chỉnh, việc buộc cài đặt có thể làm hỏng cả mô-đun và vỏ. Giải pháp tốt nhất là liên hệ với nhà cung cấp đèn LED của bạn để sắp xếp lại kích thước chính xác hoặc yêu cầu mô-đun tuyến tính LED tùy chỉnh được thiết kế cho thiết bị cố định của bạn. Làm việc với nhà cung cấp trang bị thêm đèn LED đáng tin cậy đảm bảo quá trình nâng cấp mượt mà hơn.
2. Không có đèn sau khi bật nguồn
Nếu mô-đun tuyến tính LED không bật sau khi cài đặt, hãy bắt đầu bằng cách kiểm tra hệ thống dây điện giữa mô-đun và trình điều khiển. Sự phân cực không chính xác hoặc kết nối lỏng lẻo thường gây ra sự cố. Đảm bảo các dây dương và dây âm được kết nối đúng cách và xác nhận rằng trình điều khiển LED được liên kết chính xác với nguồn điện. Sử dụng máy đo điện áp có thể nhanh chóng xác định xem nguồn điện có đến trình điều khiển và mô-đun hay không.
3. Chớp nhoáng trong quá trình vận hành
Đèn nhấp nháy có thể gây khó chịu và thường chỉ ra các vấn đề về hệ thống dây điện hoặc trình điều khiển. Kiểm tra các kết nối kém có thể làm gián đoạn dòng điện. Một khả năng khác là điện áp đầu ra của trình điều khiển LED không phù hợp với yêu cầu đầu vào của mô-đun. Nếu trình điều khiển không tương thích, thay thế bằng nguồn điện LED được đánh giá đúng sẽ loại bỏ nhấp nháy và bảo vệ mô-đun khỏi bị hư hỏng lâu dài.
4. Các vấn đề quá nóng
Nhiệt quá mức làm giảm tuổi thọ của các mô-đun tuyến tính LED và có thể báo hiệu việc lắp đặt không đúng. Đảm bảo rằng mô-đun được gắn đầy đủ vào tản nhiệt hoặc vỏ kim loại của vật cố định để cho phép truyền nhiệt hiệu quả. Thông gió kém trong thiết bị cố định cũng có thể gây tích tụ nhiệt. Trong một số trường hợp, vấn đề là trình điều khiển quá khổ cung cấp nhiều dòng điện hơn so với mô-đun được đánh giá. Chuyển sang trình điều khiển công suất thấp hơn với đầu ra chính xác ngăn chặn quá nhiệt và bảo vệ hệ thống LED.

Những lợi ích chính của việc nâng cấp lên mô-đun tuyến tính LED
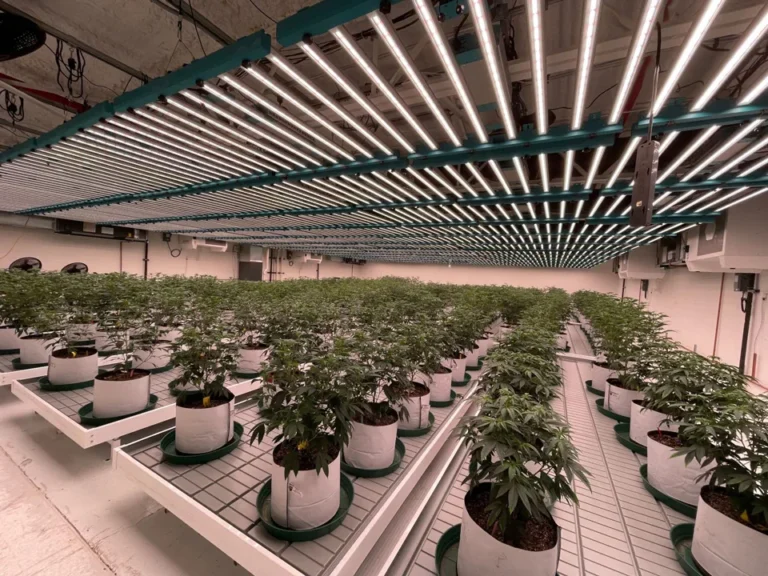
Thay thế các đồ đạc cũ bằng mô-đun tuyến tính LED mang lại lợi thế rõ ràng. Hiệu quả năng lượng là đáng kể nhất, vì đèn LED tiêu thụ ít hơn 60% so với ánh sáng truyền thống đồng thời cung cấp ánh sáng sáng hơn, đồng đều hơn. Tuổi thọ dài hơn cũng làm giảm tần suất bảo trì, giảm chi phí vận hành tổng thể. Ngoài ra, các mô-đun tuyến tính LED cung cấp tính linh hoạt trong nhiệt độ màu, các tùy chọn làm mờ và khả năng tương thích điều khiển thông minh, làm cho chúng phù hợp cho cả ứng dụng thương mại và dân dụng.
Tại Signitel, chúng tôi chuyên tùy chỉnh các mô-đun tuyến tính LED phù hợp với yêu cầu dự án của bạn. Từ PCB và thiết kế động cơ nhẹ đến kiểm tra hiệu suất và đảm bảo chất lượng, nhóm của chúng tôi cung cấp các giải pháp đảm bảo độ tin cậy và hiệu quả. Với nhiều năm chuyên môn và thành tích mạnh mẽ trên thị trường toàn cầu, Signiteled là đối tác đáng tin cậy cho các đơn đặt hàng số lượng lớn và các giải pháp trang bị thêm đèn LED tùy chỉnh. Liên hệ với chúng tôi ngay hôm nay để thảo luận về cách chúng tôi có thể hỗ trợ nâng cấp ánh sáng của bạn. Nếu bạn quan tâm đến việc tìm hiểu thêm thông tin về mô-đun tuyến tính LED, hãy xem bài viết này: Hướng dẫn hoàn chỉnh mô-đun tuyến tính LED: Cấu trúc, trình điều khiển và ứng dụng
Bài viết liên quan