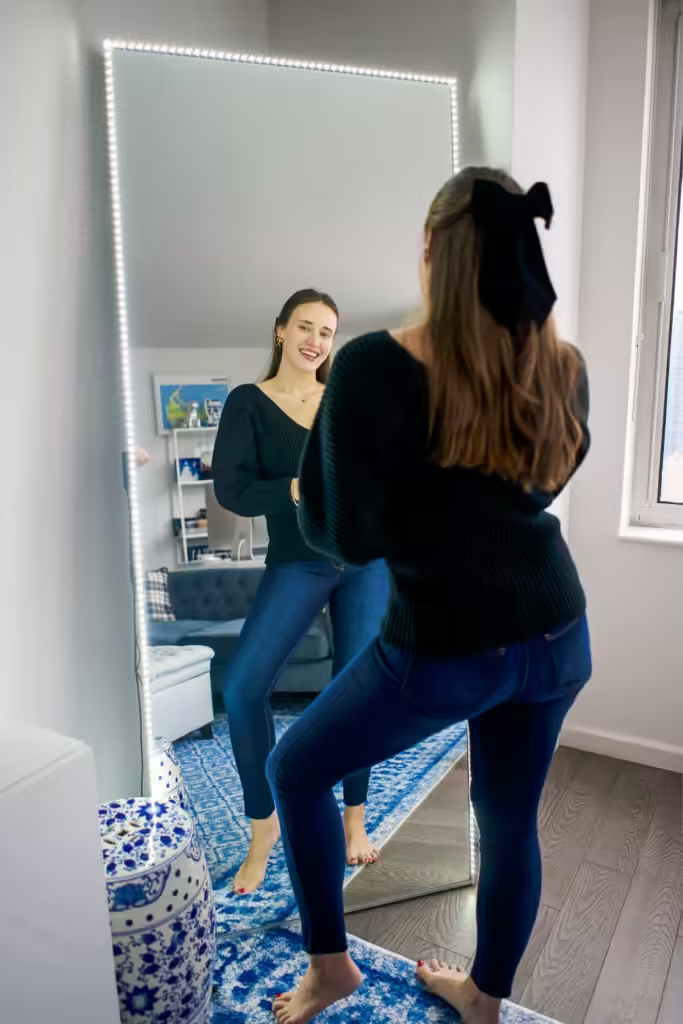
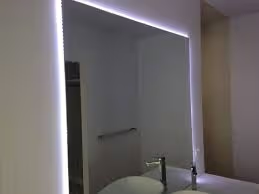
If you are going to buy bathroom mirror or makeup mirror, you will find most of stylish mirrors are set with built-in led strips. This strips provides uniform, soft and sufficient lights, reduces shadows and reflections which is better for grooming and makeup. How to add LED strip to an existing mirror, follow the steps below.
DIY MAKE YOU OWN LED Light Bathroom Mirror
How to Fix an LED Strip to a Mirror
Materials Needed:
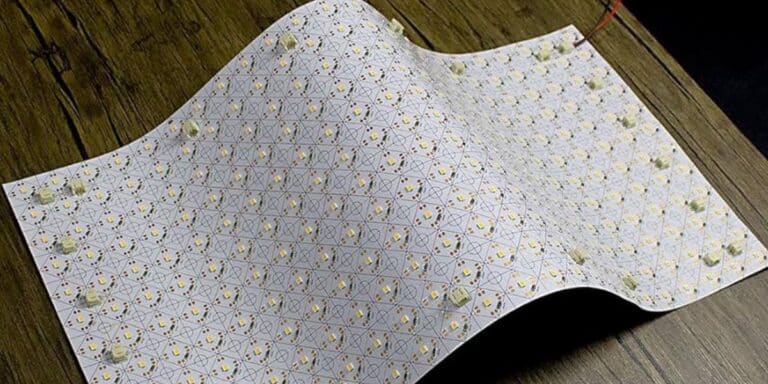
* LED strip with double-sided adhesive tape backing (or separate adhesive if needed)
* Rubbing alcohol and a cloth (for cleaning)
* Scissors (for cutting the LED strip, if necessary)
* Power supply and controller (if required)
* Corner connectors or soldering kit (if cutting and reconnecting the strip)
* Clips or brackets (optional, for extra security)
* Diffuser or neon tube (optional, for soft light)
Steps:
1. Determine Where to Fix LED Strips
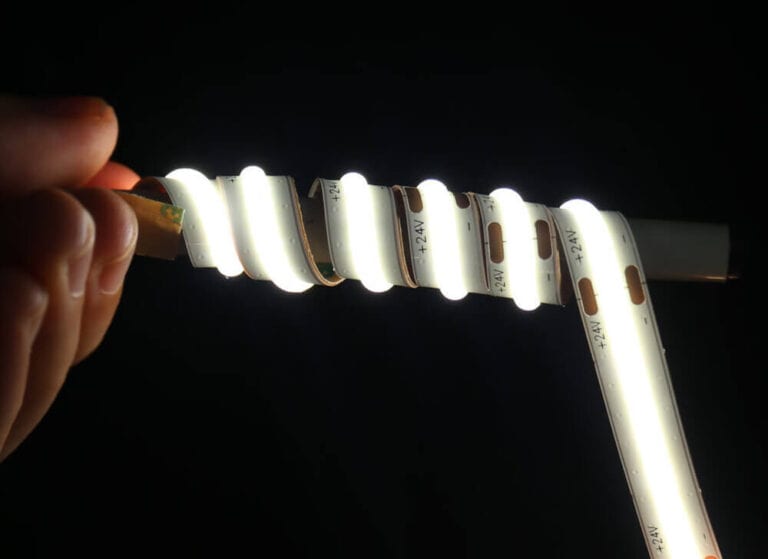
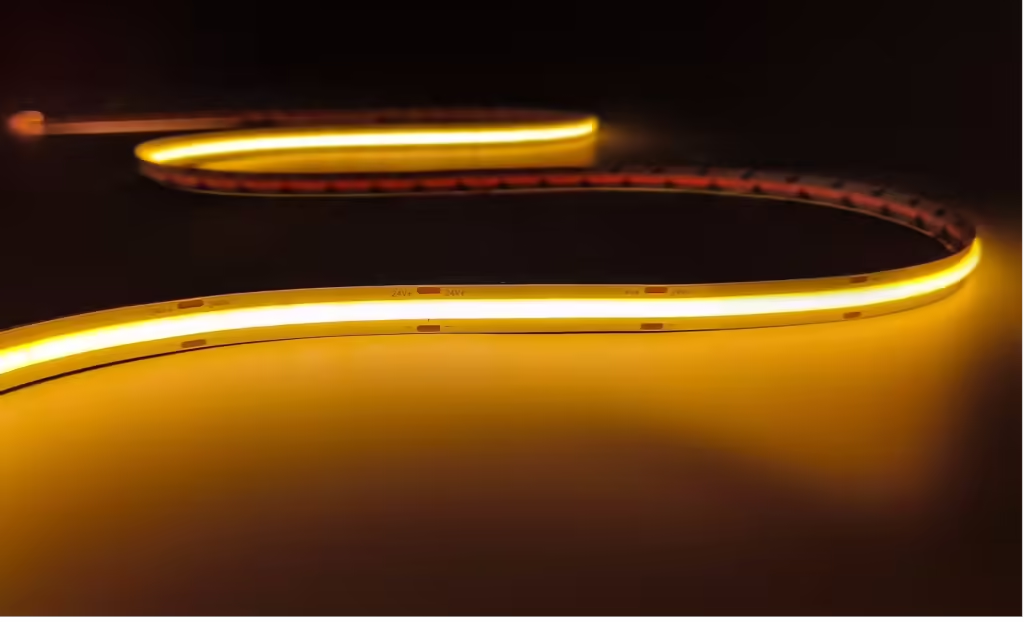
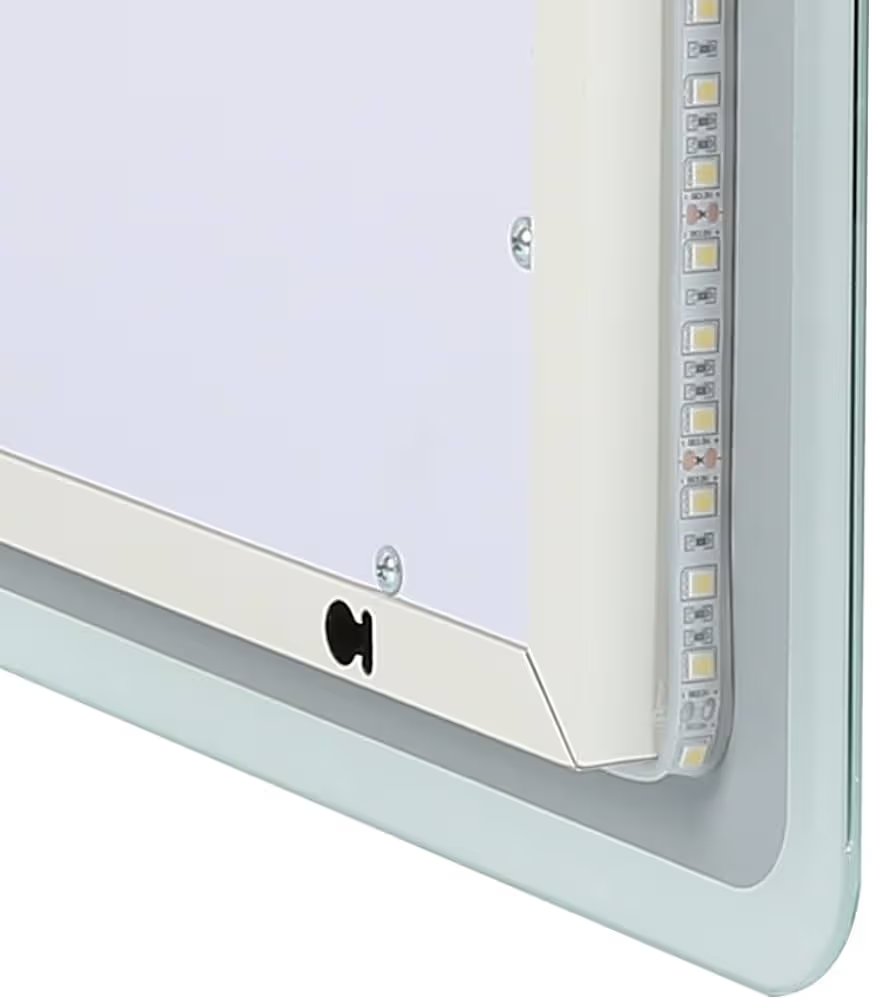
* Front installation: For brighter light, you can fix LED strip on the front side, directly to Your face. But this may glare, it’s better to choose COB strip light with low power, our CYX08T480X is a good choice for you, it’s spotless for uniform lights, 180 degree beam angle for soft lights and CRI90 for better color rendering.
* Back installation: The lights are more uniform and soft when placing the strip on the back of mirror, this indirect installation is the best solution, but the mirror have to be movable and there is a certain gap between mirror and wall.
* Side installation: If it requires too much work to install it on the back side, you can also fix the strip on the side of mirror if the fixture has enough space.
2. Plan the Layout and Measure
Plan the layout, determine how many meters of strip you will need for the mirror, and you shall put the input side of strip as close to the socket as possible, for aesthetically pleasing.
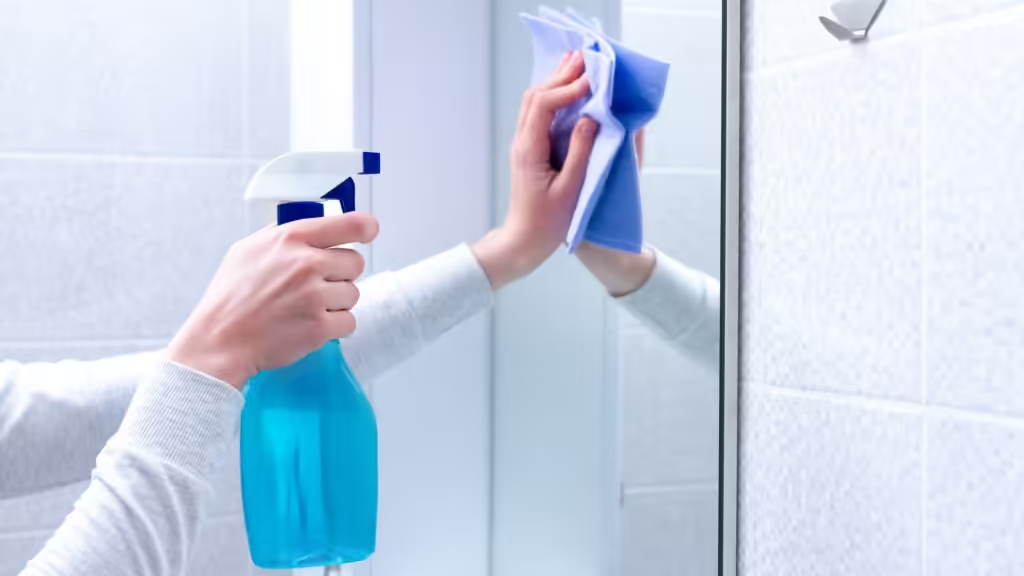
3. Clean the Surface
Cleaning is the necessary step to ensure the strips sticks properly to the area of the mirror where you plan to fix. Use rubbing alcohol and a cloth to remove dust, oils, and other residues.
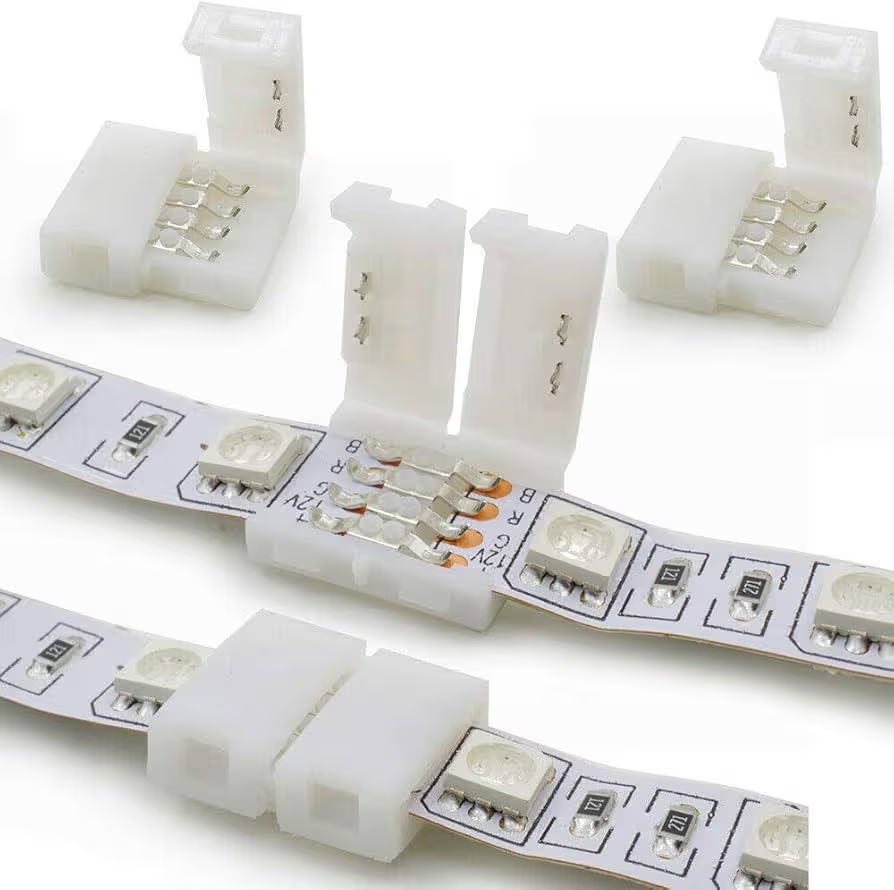
4. Cut and connect the LED Strip (if necessary)
If you will use connectors at the corners, cut the strip to the desired lengths, ensuring you cut at the correct points to avoid damaging the circuit. If you will not cut the strip in the middle, you can cut it after adhering it on the mirror.
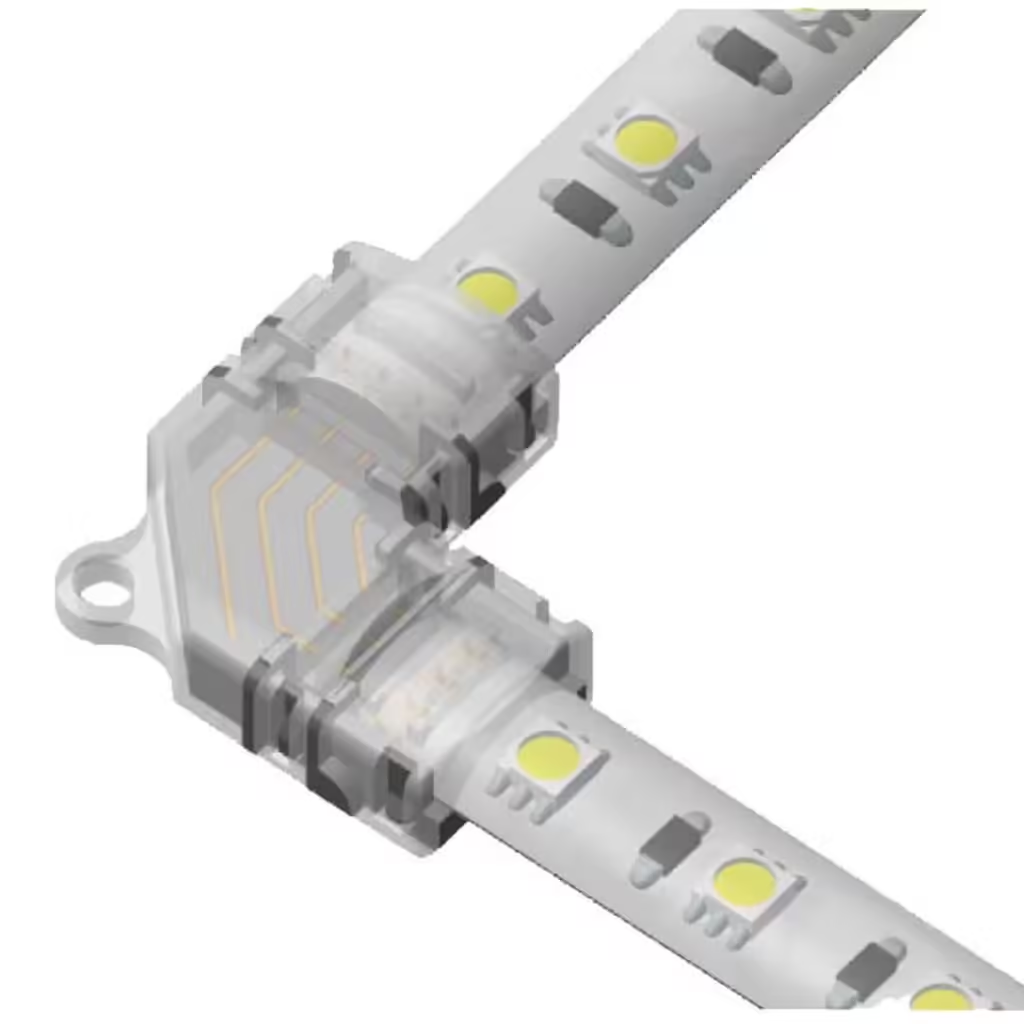
Connect strips together by soldering kit or solderless connectors if needed for large mirror. Waterproof solderless connectors is highly recommended for waterproof strips, it does not require soldering kit and cleaning the glue, much less work to do.
5. Install the LED Strip
Peel off the backing from the adhesive tape on the LED strip and carefully press it onto the cleaned surface of the mirror. Start from one end and along the layout you planned, ensuring the strip adheres smoothly and evenly.
If the adhesive isn’t strong enough, you can use silicone adhesive or small mounting clips/brackets to prevent it from falling off.
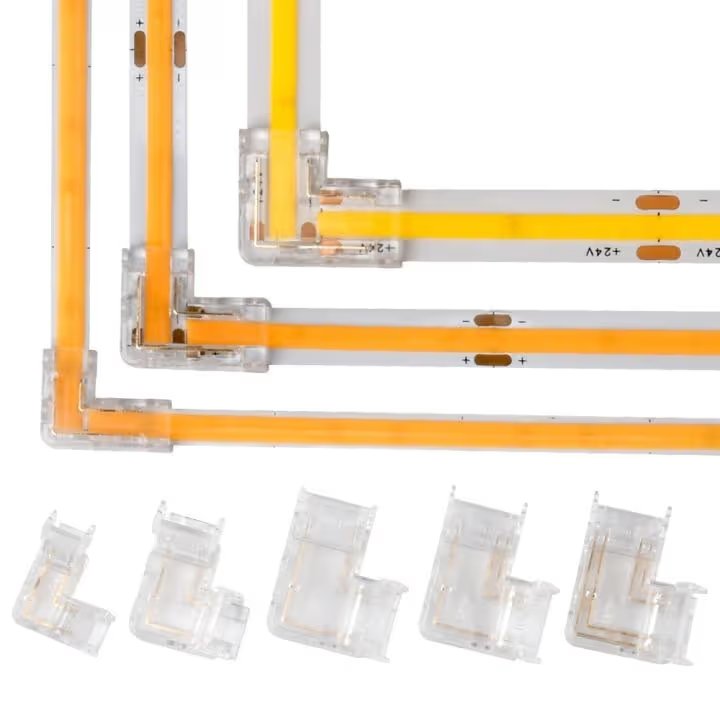
6. Secure the Corners
If your strip needs to go around corners, use corner connectors (“L” type). or carefully bend the strip as a loop, but this may cause hot spot. Alternatively, you can cut and reconnect strips by soldering kit.
7. Connect to Power
Once the strip is attached, connect it to the power supply. Make sure the power source is properly rated for the LED strip’s voltage and wattage requirements. Choose waterproof power supply if it’s used in bathroom or other damp location.
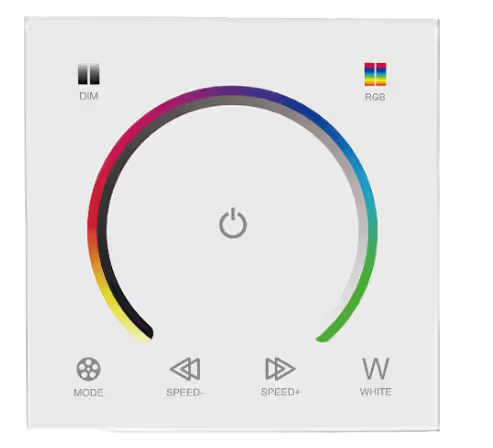
If you’re using a controller for dimming or color-changing effects, connect the strip to the controller as instructed, touch panel would be a good option.
8. Test the Lighting
After connecting the power, test the LED strip to ensure it’s working correctly. Check for any loose connections or areas where the strip isn’t adhering properly, and make adjustments if needed
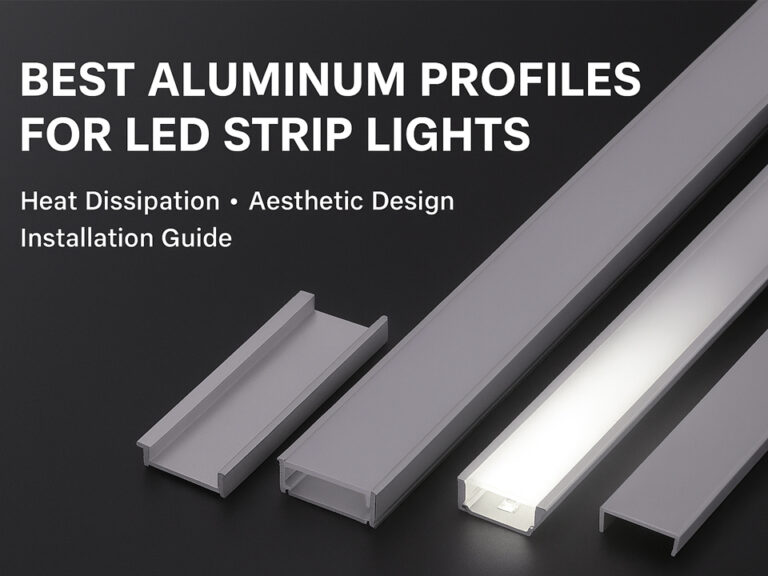
9. Optional: Add a Diffuser or Frame
If you want to soften the light, consider adding a diffuser (Aluminum profile) or neon tube.
You can make indirect lighting by adding a frame on the back of mirror and fixing LED strips on it, check the video at the beginning of this article.
Tips
* The higher CRI, the better. CRI90 LED strip prevents more better color rendering which means you look more real from the mirror.
* Get waterproof LED driver and strips for the mirror in damp location, in case it’s burnt by water splashing.
* Use solderless waterproof connectors, fast, durable and aesthetical.
* Better to position LED strip on the back of the mirror for indirect lighting that reflects off the wall.
* Cut strip at the cutting points to avoid damaging LED strips.
* Choose touch controller for easier control.
DIY your own mirror lights by taking these steps, super easy!
Related Posts