LED aluminum profiles are a fantastic way to enhance both the style and functionality of your lighting setup. They not only protect and diffuse LED strips but also give your installation a polished look. If you’re new to this, installing them might seem a bit tricky, but don’t worry! Here’s a simple step-by-step guide to get you through it.

Step 1: Measure and Cut the Profile
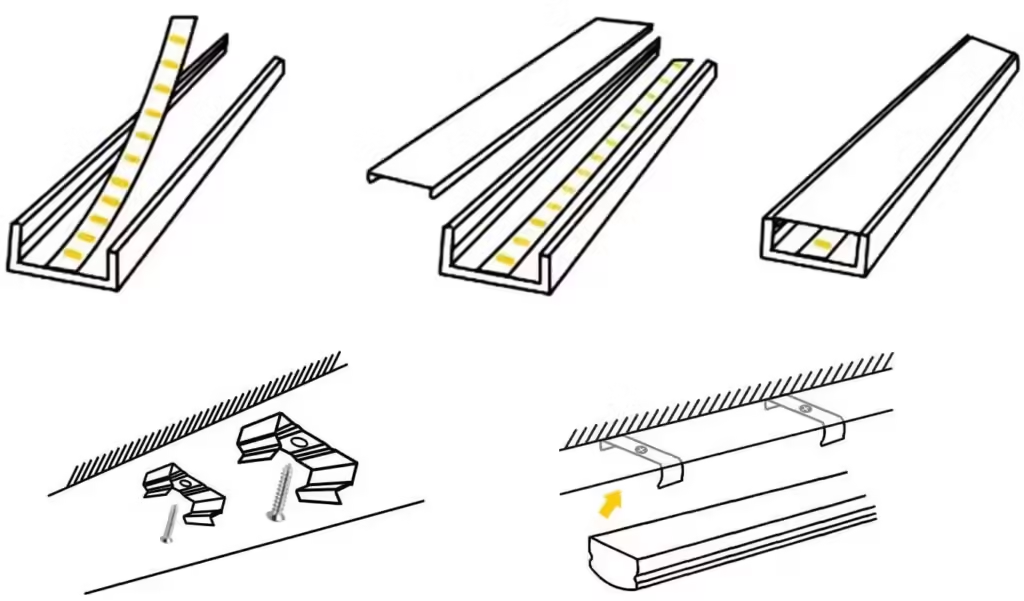
Start by measuring the area where you want to install the profile. Once you have those measurements, cut the LED aluminum profile to the right length. Use a fine-toothed saw for a clean cut.
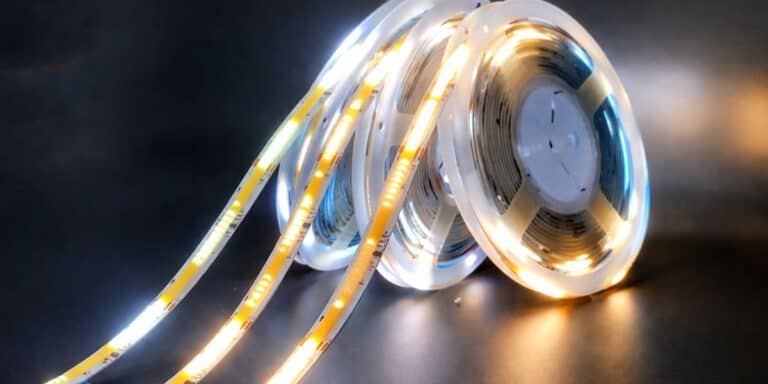
Step 2: Insert the LED Strip
Next, take your LED strip and peel off its adhesive backing. Press the strip firmly into the aluminum profile’s channel, making sure it’s centered for the best lighting effect.
Step 3: Install the Diffuser
Finally, you’ll need to add the diffuser, which is crucial for protecting the LED strip and softening the light. There are various types like frosted, clear, and opal—pick one that fits your style. Slide the diffuser into the profile over the LED strip; it should fit snugly with no gaps. Just ensure it’s the right size for your profile.
Step 4: Mounting the Profile
After placing the LED strip and diffuser, it’s time to attach the LED aluminum profile. You can use adhesive tape, screws, or clips for this.
If you go with adhesive tape, make sure it’s strong enough for the profile and LED strip weight. For screws, remember to pre-drill the holes to avoid cracking the aluminum. Clips are also a great choice since they make installation and removal super easy.A. Surface Mount Aluminum Profile
You can easily install the LED strip light channel on a wall, ceiling, or any flat surface using mounting brackets, 3M double-sided tape, or screws. Most mounting brackets come with pre-drilled holes, so just fix them to the wall with screws, and then snap the aluminum profile into place.If you’re using 3M double-sided tape, it’s as simple as peeling and sticking! Just make sure the surface is clean and dry before hand. For best results, use isopropyl alcohol to clean it, and if there are any oils, acetone works better.
B. Recessed or Flush Mount Aluminum Profile
For a sleek look, install the aluminum profile behind a wall or surface so that the opening is flush. You’ll need to create a recess that matches the width and depth of the LED strip channel.Worried about uneven edges? No need! Many LED aluminum channels have lips (or wings) on both sides that can cover those rough edges when mounted flush. Some profiles also feature two recess options on the side walls. Use the mounting clips to adjust the height and cooling space between the LED profile and the surface.
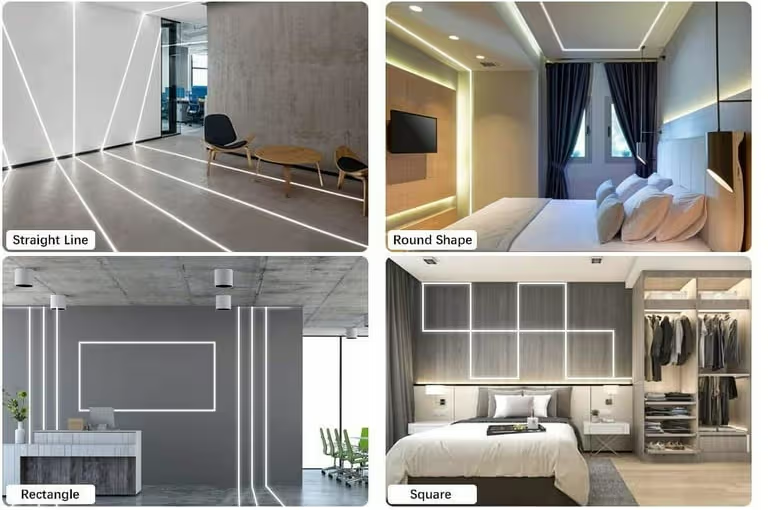
C. Corner Mount Aluminum Profile
The corner mount aluminum profile is perfect for installing LED strips, allowing for beam angles of 30°, 45°, and 60°. This setup not only brightens up those often-overlooked corner spaces but also helps create a cozy atmosphere. Installing it is simple with the help of mounting brackets or double-sided tape.One major advantage of corner-mounted LED channels is their efficient use of space that would be wasted with other light fixtures. When planning your lighting, don’t forget about those dark corners; this profile can stylishly illuminate them.
Now, where does the great thermal performance come from? Take the 45° beam angle profile as an example. It features an internal base angled at 45°, which, together with the channel’s walls, forms a space that helps cool the LED strip effectively.
Step 5: Connect the Wiring
The last thing you need to do is connect the wiring. Most LED strips come with a connector for easy connection to a power source. Just make sure to follow the manufacturer’s guidelines for safe and effective setup.
In short, installing LED aluminum profiles is a simple task anyone with basic DIY skills can handle. By following these easy steps, you can enhance your lighting project with style and achieve a professional finish.
Related Posts