2011년부터 간판 및 LED 스트립 조명 공장

2011년부터 간판 및 LED 스트립 조명 공장

유연한 DMX512 네온 LED 스트립의 설치 및 시운전에 대한 완벽한 가이드

In recent years, flexible DMX512 neon LED strips have become a cornerstone of creative architectural and façade lighting. Unlike conventional LED strips, these products combine the flexibility of silicone neon housing with the precision of DMX512 digital control, enabling pixel-level dynamic effects, smooth gradients, and unlimited design possibilities. However, this sophistication also makes their installation and commissioning more demanding. A minor mistake during wiring or addressing can result in signal loss, color distortion, or unsynchronized effects.

This guide provides a comprehensive roadmap—from preparation to final acceptance—for contractors and lighting professionals undertaking DMX512 neon LED strip projects.

Preparation Before Installation: “Plan Before You Build”

A successful DMX512 lighting project begins long before the first strip is mounted.

Understand the design drawings thoroughly

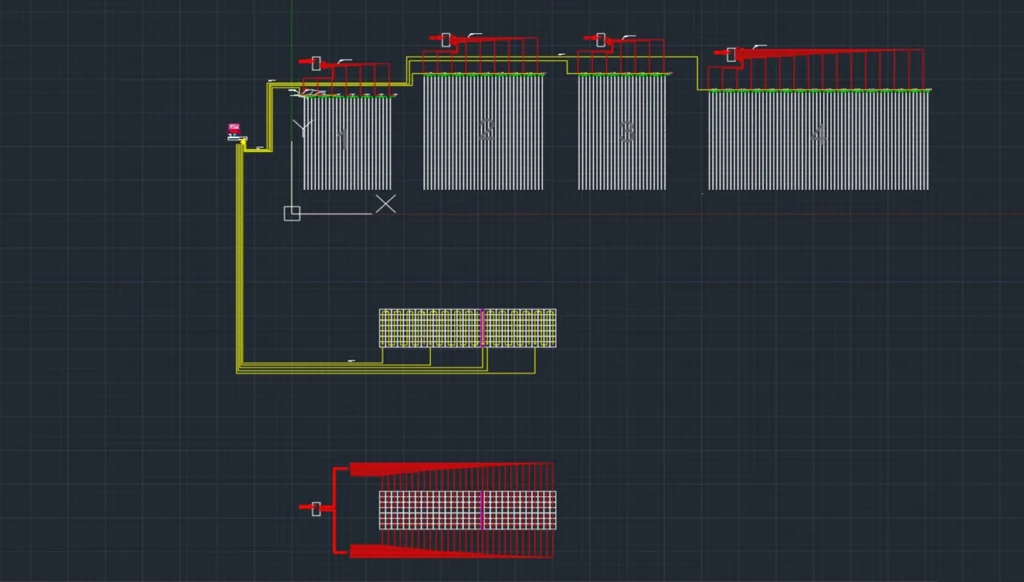
Before entering the site, review the lighting design, wiring diagrams, and animation previews. Identify strip groupings, controller locations, and power distribution points. With this mental “map,” the on-site work becomes predictable and efficient.

wiring diagram

Material inspection is critical

LED strips: Verify models, lengths, and specifications against the design. Always cut and power a test segment on-site to check for dead pixels, color consistency, and brightness. Early detection of defects prevents costly rework.

Power supplies: Calculate capacity carefully. The recommended rule is: total PSU capacity ≥ 1.5 × total strip power. This safety margin ensures long-term stability.

Accessories: Clips, end caps, waterproof adhesives, connectors, and signal cables must be complete. Missing accessories delay installation and compromise reliability.

Installation: “Details Define the Outcome”

Flexible neon strips are durable, but improper installation can quickly shorten their lifespan.

Surface preparation

Clean the installation surface with alcohol and allow it to dry completely before applying adhesive backing. For outdoor or ceiling projects, adhesive alone is insufficient—use dedicated clips for secure double fixation. Over time, adhesive will fail under heat, dust, and gravity.

Bending and cutting

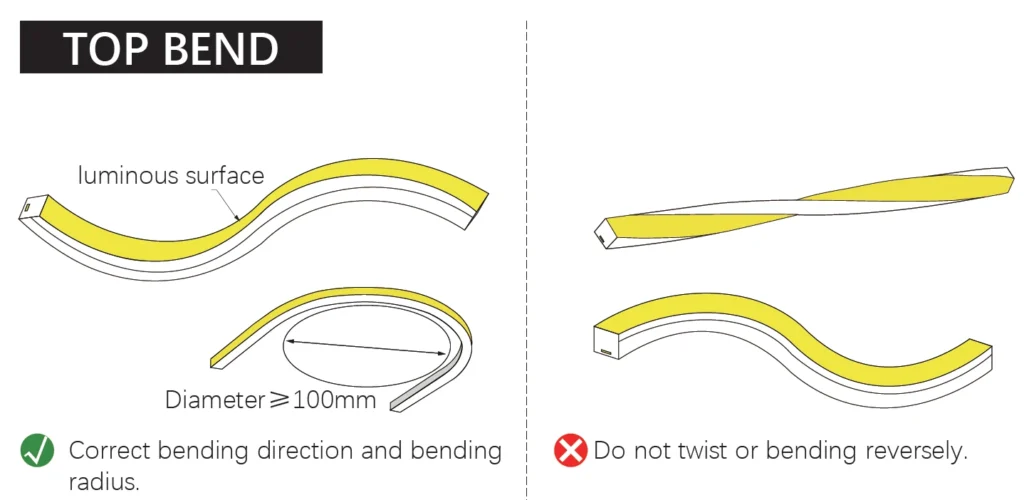
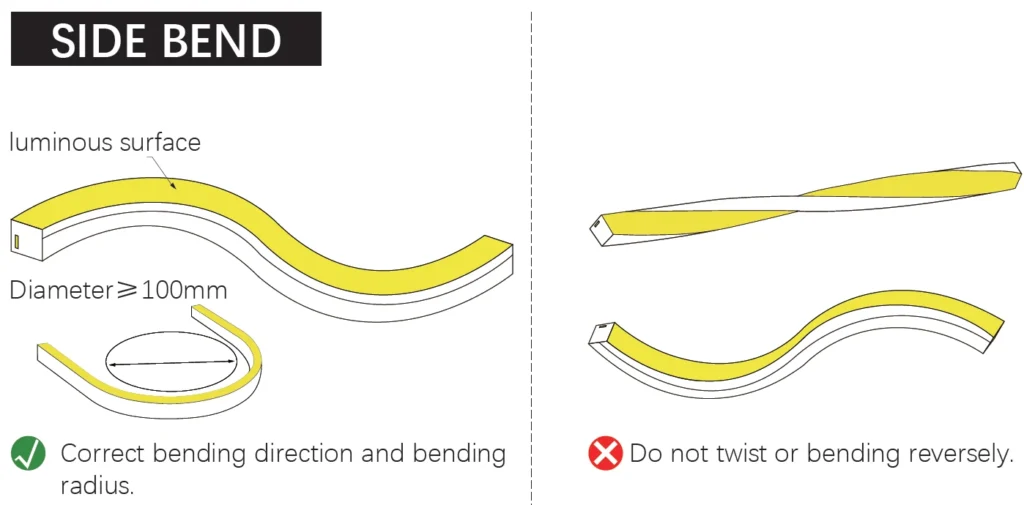
Strips can bend horizontally, but vertical twists and sharp bends are strictly forbidden. The minimum bending radius is typically ≥ 5 cm.

Cutting must only be done at designated scissor-mark points. Cutting elsewhere renders the entire segment unusable.

top view neon light bending

side view neon lightbending

Power and Signal Wiring: “The Core of DMX512 Systems”

DMX512 neon strips are more sensitive to wiring quality than conventional strips.

Power supply strategy

Adopt a multi-point power injection approach. For long runs, never power from one end only—voltage drop will cause brightness falloff and color shift at the far end. Instead, inject power every 10–15 meters directly from the PSU.

Signal wiring standards

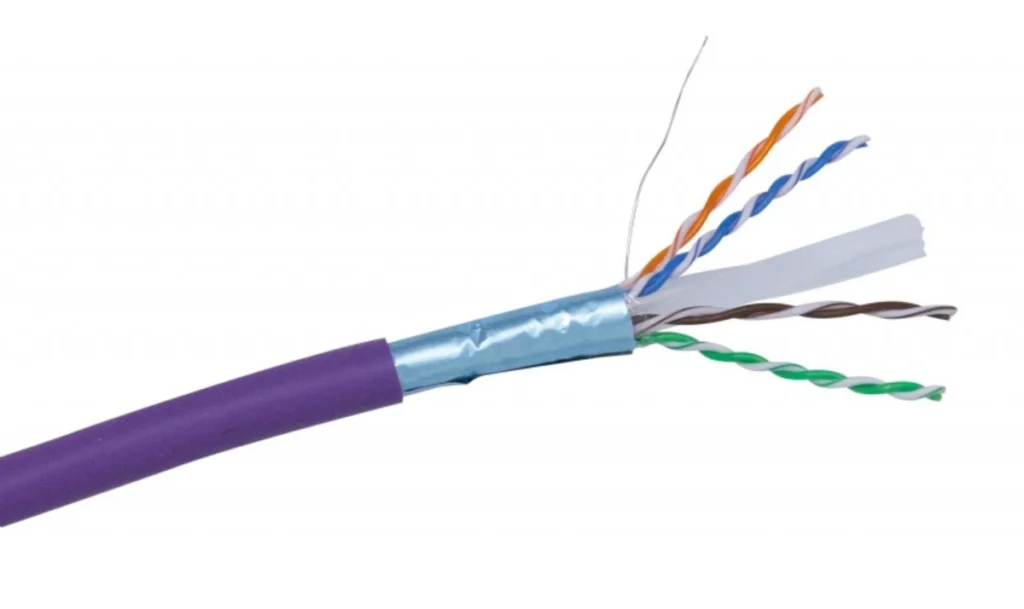
Always use shielded twisted-pair DMX cables with 120 Ω impedance. Network cables are not suitable; they lack shielding and proper impedance, making them prone to interference.

Maintain at least 30 cm separation between DMX signal cables and high-voltage (220V) power lines. Parallel routing increases electromagnetic interference risk.

DMX CAT6 cable

DMX addressing and termination

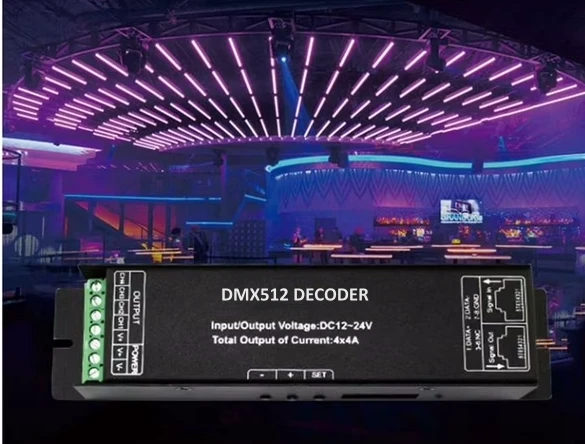
Address setting: Every strip segment must have a unique starting address. Use DIP switches or software configuration based on the formula:

Start Address = (N – 1) × Channel Count + 1

Termination resistor: Install a 120 Ω resistor at the last fixture in each DMX line. Without this, reflections cause flickering, signal instability, or random behavior. This small component is the “guardian” of system stability.

Commissioning and Testing: “Lighting Up the Vision”

Once wiring is complete, careful commissioning ensures the installation matches the design intent.

Power-up procedure

Never energize the entire system at once. Instead, test segment by segment. Begin with the controller and PSU, then gradually connect strips, verifying each section works properly before proceeding. This approach isolates problems quickly.

Software configuration

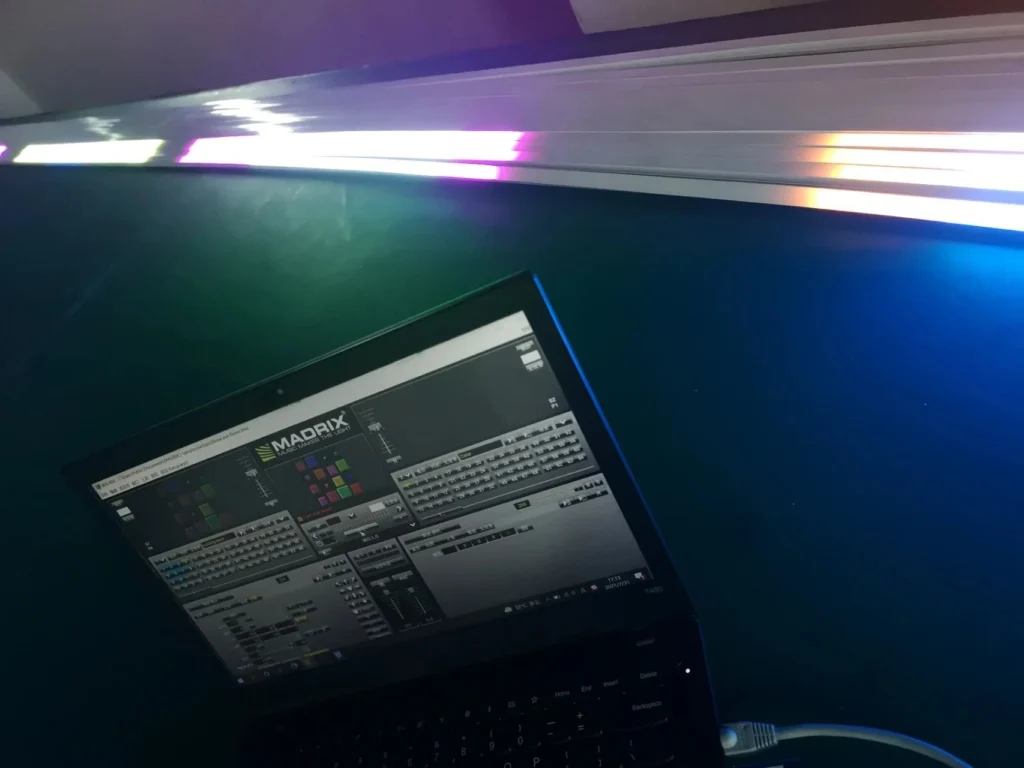
In the control software (e.g., Madrix, Resolume, Arkaos), set the correct Universe, output ports, and channel mapping (RGB or RGBW depending on strip type). Confirm each segment’s DMX address matches the design.

DMX neon light testing

Effect verification

Use pure static colors (red, green, blue, white) to confirm uniformity and eliminate dead pixels.

Run dynamic effects such as chasing, gradients, or strobe to check for synchronization issues. Delays or jitter indicate signal integrity problems.

Finally, compare live results with the original design animation to ensure the client’s vision is fully realized.

Best Practices and Professional Tips

From practical experience, four golden rules summarize a reliable DMX512 neon installation:

Power generously, feed locally – Use sufficient PSU capacity and inject power at multiple points.

Protect signal integrity – Use shielded DMX cables and install termination resistors.

Address logically, test methodically – Assign and confirm addresses carefully, segment by segment.

Install securely, protect against the elements – Clips, waterproofing, and thermal management are critical for outdoor durability.

Additionally:

Always allow for expansion joints in long runs to account for thermal expansion of silicone housings.

Label both power and signal cables during installation—this small step saves hours in troubleshooting later.

Keep spare power supplies and connectors on-site for immediate replacement during commissioning.

결론

The appeal of flexible DMX512 neon LED strips lies in their ability to transform static architecture into a dynamic canvas of light. Yet, this capability comes with complexity. By respecting the principles of adequate power distribution, robust signal wiring, careful addressing, and secure installation, lighting professionals can deliver flawless results that match the most ambitious design visions.

In façade lighting, themed entertainment, or city landmarks, success is measured not only by how brightly the lights shine, but by how seamlessly they perform night after night. With thorough preparation, meticulous execution, and disciplined testing, DMX512 neon projects can move from potential pitfalls to illuminated masterpieces.

YouTube 동영상

Partner with SignliteLED for Your Next Project

At SignliteLED, we specialize in high-quality DMX512 flexible neon strips and complete control solutions. With over 15 years of experience, global certifications, and a strong engineering team, we provide not only reliable products but also expert technical support for complex installations. Whether you are an engineering contractor, distributor, or lighting designer, we can deliver custom solutions tailored to your project’s needs.

LED에 대한 기본 지식LED에 대한 기본 지식
LED에 대한 기본 지식
LED 라이트 스트립을 제조하든 구매하든 LED의 기본 사항을 이해하는 것이 중요합니다. 코어 발광 성분으로서 LED의 특성이 라이트 스트립의 성능을 직접적으로 결정합니다. 제조업체의 경우 이 지식은 LED 칩 선택, 회로 설계 및 프로세스 제어를 안내합니다. 구매자에게는 핵심이죠...
알아야 할 LED 네온 스트립 품질 관리 표준 및 테스트알아야 할 LED 네온 스트립 품질 관리 표준 및 테스트
LED 네온 스트립 품질 관리: 알아야 할 표준 및 테스트
LED 네온 스트립 조명 품질 관리를 위한 표준 및 테스트는 무엇이며, 그 기준은 무엇인가요? 구매자는 구매하는 LED 네온 스트립이 안전, 에너지 효율성 및 환경 보호에 대한 테스트를 거쳤는지 여부를 알아야 합니다. 이러한 테스트를 충족하는 제조업체만이 ...
배터리로 작동하는 LED 스트립 조명에 대해 알아야 할 모든 것
조명 디자인은 기존의 플러그인 솔루션을 뛰어넘어 현대인의 라이프스타일에 맞는 혁신을 수용하며 진화해 왔습니다. 배터리로 구동되는 LED 스트립 조명은 유연성과 독립성이 독특하게 결합되어 있어 고정 배선 없이도 창의적인 조명 솔루션을 구현할 수 있습니다. 이러한 변화는 실내 분위기와 실외 미학을 모두 향상시킬 수 있는 새로운 기회를 열어줍니다.
LED 스트립 조명에 대한 전체 가이드LED 스트립 조명에 대한 전체 가이드
LED 스트립 조명에 대한 전체 가이드
방대한 LED 조명 솔루션 분야에서 LED 스트립 조명은 매우 인기 있는 조명 솔루션입니다. 선형 LED 스트립 조명은 상업용 및 주거용 조명 애플리케이션에 적합한 경제적인 옵션입니다. 기본적으로 표면 실장 기술을 통해 플렉시블 또는 리지드 스트립에 장착된 LED 스트링인 LED 스트립은 ...
LED-조명-색상-온도 비교-5000K 대 -6000KLED-조명-색상-온도 비교-5000K 대 -6000K
LED 조명 색온도 비교: 5000K 대 6000K
색온도는 가시 광원의 색을 설명하는 매개변수이며 켈빈(K) 단위로 측정됩니다. 5000K 또는 6000K와 같이 우리가 말하는 특정 값은 실제로 상관 색온도(CCT)입니다. 상관 색온도(CCT)는 색을 설명하는 데 사용됩니다...
LED 스트립 조명을 위한 궁극의 알루미늄 프로파일 가이드LED 스트립 조명을 위한 궁극의 알루미늄 프로파일 가이드
LED 스트립 조명용 알루미늄 프로파일에 대한 최종 가이드
LED 알루미늄 채널(LED 프로파일 또는 하우징이라고도 함)은 LED 스트립 조명 설치에 매끄럽고 세련된 외관을 제공하는 특수 설계된 돌출부입니다. 이러한 채널을 사용하면 원하는 스타일의 LED 채널 및 LED 스트립 조명에 맞는 맞춤형 조명기구를 쉽게 만들 수 있습니다. 우리는...

공유하다:

페이스북
지저귀다
핀터레스트
링크드인
구독하다
알림
guest
0 댓글
가장 오래된
최신 가장 많이 투표된
인라인 피드백
모든 댓글 보기

SignliteLED 블로그 검색

카테고리

위로

지금 견적을 받으세요