Installing flow lighting using a water flow LED strip is a practical, step-by-step process when expectations are set correctly from the start. The installation itself is straightforward: you plan the visual flow path, prepare the surface, mount the strip securely, connect it to a compatible controller and power source, then test and adjust the brightness sequence until the flow looks smooth. The key point is that the strip provides white light only, and the flowing appearance comes from controller-managed brightness sequencing, not from movement inside the strip itself.
This guide is written as a procedural reference. It focuses only on water flow LED strips, avoids broad lighting theory, and explains exactly how to install them in a home setting or for an event environment.
What Is Water Flow LED Strip Lighting?

Water flow LED strip lighting is a white-light linear lighting solution designed to create the visual impression of flowing light. The effect resembles water moving through a channel, but there is no physical motion involved.
A water flow LED strip is designed to emit a continuous, uniform line of white light along its entire length. On its own, the strip functions like a standard white LED strip. The “flow” appearance only occurs when the strip is connected to a controller that manages brightness sequencing across different sections of the strip.
It is important to set expectations clearly:
- The light is white only.
- There are no color-changing or multicolor effects.
- There are no moving parts inside the strip.
- The flow is a visual effect created electronically by controlled brightness changes.
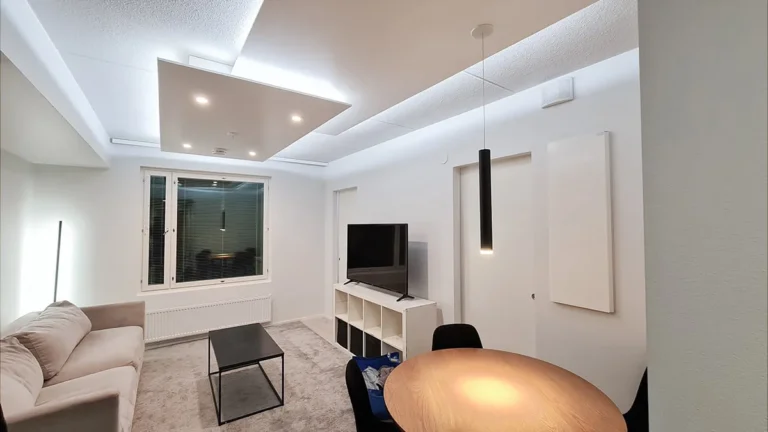
When installed correctly, the result is a smooth, subtle motion effect that works well for architectural accents, pathways, stage structures, and decorative outlines where movement needs to feel calm and controlled rather than flashy.
How the Flow Effect Is Created
Understanding how the flow effect works will prevent most installation mistakes.
The water flow LED strip itself is a continuous COB strip that provides even white illumination along its entire length. This uniformity is critical, because gaps or visible points would break the illusion of flow.
The actual flow effect is created by a controller. The controller does not change colors or create animations inside the strip. Instead, it adjusts brightness levels along different sections of the strip in a timed sequence. As brightness rises and falls in a smooth pattern, the human eye perceives this as light moving forward, similar to the way water appears to flow.
There is no mechanical motion, no physical scrolling, and no intelligence built into the strip. All control logic sits outside the strip, in the controller.
For a clear visual reference of how this looks after installation, you can watch this example video:
The video shows a realistic white-light water flow effect after proper mounting and control. It is useful for understanding what the finished result should look like, not for learning wiring details.
Step-by-Step: Installing Water Flow LED Strips at Home

Home installations are usually semi-permanent. The goal is clean integration with architectural surfaces and a smooth, uninterrupted flow line.
Step One: Plan the Flow Path
Before touching the strip, decide where the flow should visually start and end. Flow lighting works best when it follows a logical direction, such as along a wall edge, ceiling recess, staircase side, or architectural groove.
When planning, consider:
- Viewing angle from normal standing or seating positions
- Whether the flow direction supports the space layout
- Avoiding sharp corners that could visually interrupt the effect
Sketch the path mentally or on paper. A clear plan prevents rework later.
Step Two: Prepare the Surface
Surface preparation directly affects how clean the final result looks.
The mounting surface must be clean, dry, and smooth. Dust, grease, or uneven textures can cause poor adhesion or uneven alignment. If the surface is painted, ensure the paint is fully cured. For metal or wood channels, wipe them thoroughly before installation.
If you plan to recess the strip into a channel, confirm that the channel is straight and securely fixed before installing the strip.
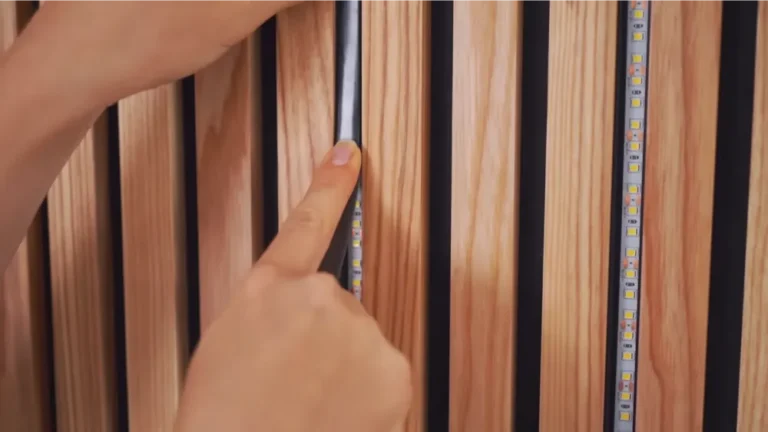
Step Three: Mount the Water Flow LED Strip
Once the surface is ready, mount the strip along the planned path. This step requires patience more than force.
Align the strip carefully and press it down evenly. Avoid stretching or bending it sharply, as this can distort the light distribution. The strip should sit flat against the surface without waves or twists.

Running Water Flowing COB LED Strip Light
- Main Model: FYA10T360C addressable
- LED Chip QTY per Meter: 360chips, 576chips (Sanan)
- IC Type: WS2811
- CRI: >90
- PCB Width: 10mm
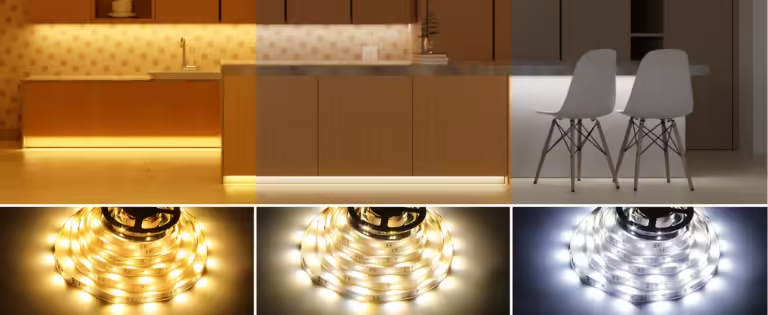
- Color Temperature: 3000K/4000K/6000K/Dual color(2700K & 6500K)
- Input Voltage: DC24V
- Power per Meter: 360chips – 11W, 576chips – 10W+10W
- Cuttable Length: 360chips – 83.33mm, 576chips – 41.66mm
- IP Grade: IP20/IP54/IP65/IP67/IP68
- Warranty: 3 years
At corners, maintain a smooth transition. Tight folds can break the visual continuity of the flow effect.
Take your time here. A well-mounted strip is the foundation of a convincing flow appearance.
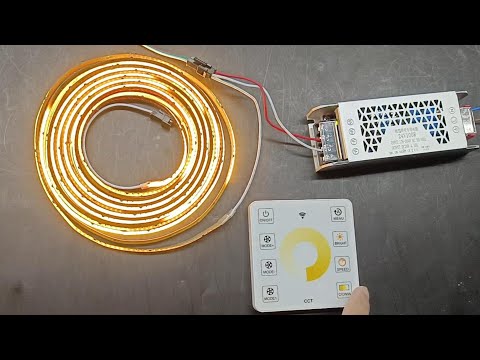
Step Four: Connect Power and Controller
After mounting, connect the strip to the appropriate controller and power source. Remember that the strip alone does not create the flow effect.
Ensure that:
- Connections are firm and secure
- Polarity is respected as required by the system
- The controller is placed in an accessible but discreet location
Do not hide the controller behind permanently sealed surfaces unless maintenance access is planned.
Step Five: Test and Fine-Tune the Flow
Power on the system and observe the effect. At this stage, focus on visual smoothness rather than brightness.
Adjust the controller settings slowly. The goal is a calm, continuous flow that feels natural. If the effect looks jumpy or uneven, check strip alignment and controller configuration.
Once satisfied, secure any loose cables and finalize the installation.
Step-by-Step: Installing Water Flow LED Strips for Events

Event installations differ from home setups because they are often temporary or semi-permanent. Speed, safety, and consistency matter more than hidden wiring.
Step One: Define Temporary or Semi-Permanent Setup
First, decide how long the installation needs to last. A short-term event may require quick mounting methods, while a multi-day setup benefits from more secure attachment.
Choose mounting solutions that can be removed without damaging surfaces. Test a small section before committing to the full run.
Step Two: Plan Visual Consistency Across Structures
Events often involve multiple structures such as stages, trusses, frames, or backdrop outlines. The flow effect should look consistent across all visible sections.
Plan the flow direction so it feels intentional rather than random. For example, all vertical elements may flow upward, or all horizontal lines may flow in the same direction.
Consistency helps the audience read the effect as a design choice rather than a technical feature.
Step Three: Mount and Secure the Strips
Mount the water flow LED strip firmly, accounting for movement, vibration, or accidental contact. Avoid loose sections that could sag or twist during the event.
Cable management is critical. Route cables neatly along structures and secure them to prevent tripping hazards or visual clutter.
Step Four: Controller Placement and Testing
Place controllers where they can be adjusted easily during setup but remain hidden from the audience. Test the entire system before the event starts.
Walk the space from different viewing angles. Check that the flow looks smooth and uninterrupted across all sections.
Make final adjustments early, not during the event.
Common Installation Mistakes to Avoid

Most issues with water flow LED strips come from misunderstanding how the system works.
One common mistake is expecting the strip itself to generate motion. Without a controller managing brightness sequencing, the strip will behave like a standard white LED strip.
Another frequent issue is poor placement. Installing the strip where the flow direction is unclear or constantly interrupted reduces the visual impact.
Misunderstanding control behavior is also common. Overly aggressive settings can make the flow look artificial rather than smooth. Subtlety is key.
Finally, rushing surface preparation often leads to uneven mounting, which breaks the illusion of continuous flow.
Avoiding these mistakes ensures the installation meets realistic expectations.
Conclusion
Installing flow lighting with a water flow LED strip is a clear, structured process when approached step by step. By planning the flow path, preparing surfaces carefully, mounting the strip cleanly, connecting a proper controller, and fine-tuning the brightness sequence, you can achieve a realistic flow effect in both home and event settings.
The most important takeaway is expectation control. The strip emits white light only, and the flow appearance depends entirely on external control. When installed with this understanding, both the water flow LED strip and the flow series LED strip deliver a clean, professional visual result that aligns perfectly with how this lighting system is designed to work.
FAQs
Related Posts