English
  简体中文
简体中文  Deutsch
  Español
  Français
  Italiano
  日本語
日本語  한국어
한국어  Polski
  Português
  Русский
  Türkçe
  Nederlands
  Tiếng Việt
  ไทย
ไทย 
You can install hidden LED strip lights in your home by following a systematic 5-step process: planning the lighting effect, selecting the right components, preparing and mounting the LED strip channels, installing and connecting the LED strips, and finally, adding diffusers and finishing touches for a seamless, professional-grade hidden glow.
Hidden LED lighting is one of the easiest ways to upgrade a home without visible fixtures. It creates soft ambient light, highlights architectural lines, and gives interiors a clean, modern feel. However, poor installation often leads to visible LED dots, exposed wiring, uneven brightness, and short product life.
This guide covers the complete A–Z process for installing hidden LED strip lights correctly. You will learn how to plan the layout, choose dotless COB LED strips, and use aluminum LED strip channels to achieve a professional, long-lasting result suitable for normal home use.
The Foundation: Planning Your Hidden Lighting Layout
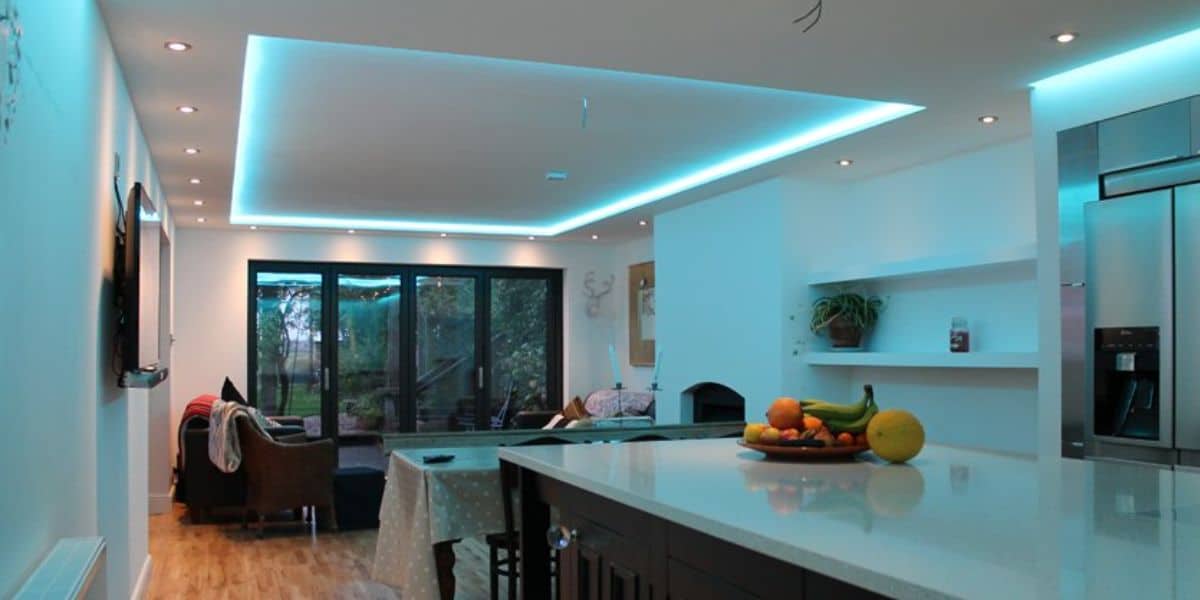
Hidden lighting starts with planning. The term “hidden” means the light source itself should not be visible. Only the lighting effect should be seen.
Choosing the Right Hidden Locations
Common and effective locations for hidden LED strip lights include:
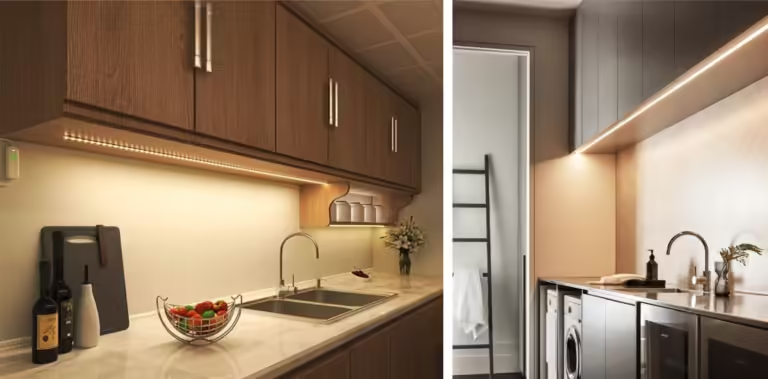
- Under kitchen cabinets for clean task lighting
- Inside shelves to highlight décor and add depth
- Ceiling coves or tray ceilings for soft ambient light
- Behind TVs or headboards to reduce eye strain
- Under bathroom vanities for subtle night lighting
- Along stair treads for safety and visual guidance
Each location serves a specific purpose, but the design goal remains the same: smooth, indirect light with no visible hardware.
Mapping Your Circuit and Power Supply
LED strip lights operate on low-voltage DC power, typically 12V or 24V, and require a suitable driver (power supply). Correct power calculation is essential to avoid flickering, dimming, or early failure.
Simple Power Calculation Formula
| Step | Action | Example |
| 1 | Measure total strip length | 8 meters |
| 2 | Check wattage per meter | 10 W/m |
| 3 | Calculate total wattage | 8 × 10 = 80 W |
| 4 | Add 20% headroom | 80 × 1.2 = 96 W → use 100 W driver |
Planning tips:
- Place drivers inside cabinets, wardrobes, or ceiling voids
- Keep drivers accessible for maintenance
- Decide early on switch, dimmer, or smart control placement
Choosing Your Components: The Key to an Invisible Finish

This step is where most DIY installations fail. The wrong LED strip or skipping channels will always show in the final result.
LED Strips: Why Dotless COB Is Essential for Hidden Lighting
Standard SMD LED strips use individual LED chips that appear as dots. When installed close to walls or surfaces, these dots create uneven reflections and visible hotspots.
COB (Chip-on-Board) LED strip lights use densely packed microchips that form a continuous light surface. This creates a smooth, dot-free glow that is ideal for hidden installations.
| Feature | Standard SMD LED Strip | COB LED Strip (Recommended) |
| Light appearance | Visible LED dots | Seamless line of light |
| Effect when hidden | Spotty reflections | Smooth, even glow |
| Best use case | Deep recesses only | All hidden applications |
For hidden LED strip lights, COB technology is not optional. It is the foundation of a clean, professional finish.
Aluminum Channels: The Foundation of a Professional Result
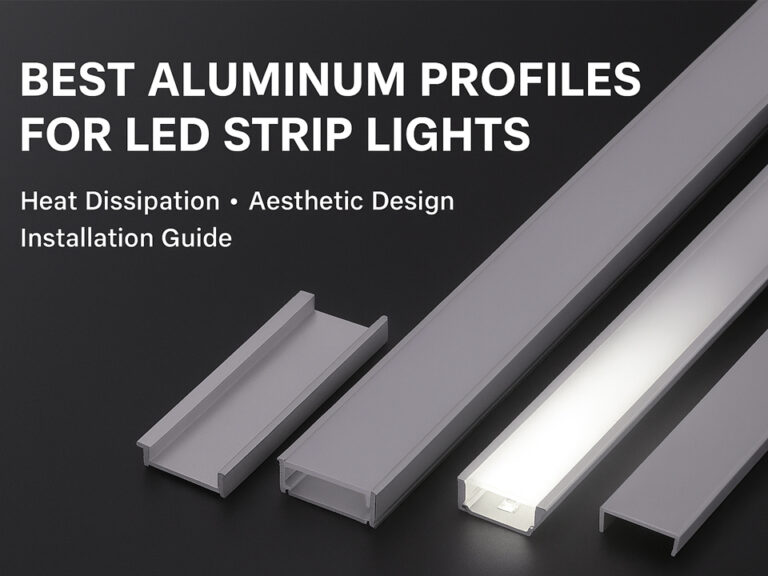
An LED strip channel is not an accessory. It is a functional requirement for hidden lighting.
Aluminum LED strip channels provide:
- Heat dissipation to support reliable performance within the 3–5 year warranty period
- Straight, secure mounting that prevents sagging
- A diffuser housing that blends light evenly
Common channel styles include recessed channels for ceilings, corner channels for cabinets, and slim surface-mounted channels where cutting is not possible.
Step-by-Step Installation Guide
Follow these steps in order to achieve a clean, professional hidden lighting result.
Step 1: Surface Preparation and Channel Mounting
Clean the surface thoroughly to remove dust or grease. Before mounting the LED strip channel, measure and mark the position carefully to ensure straight alignment and even light output. Cut aluminum channels to length using a fine-tooth hacksaw. Secure channels using screws for permanent installations or strong adhesive tape for lighter applications. Ensure alignment is straight before proceeding.
Step 2: Preparing and Placing the LED Strip
Cut the LED strip lights only at marked cut points. Test the strip before final placement. Press the strip firmly into the channel’s adhesive bed, making sure it sits flat without twisting.
Step 3: Electrical Connections and Wiring
Connect strips end-to-end using connectors or soldered joints. Maintain correct polarity throughout. Route wires neatly back to the driver. For runs longer than 5 meters, use power injection to prevent brightness loss.
Step 4: Adding the Diffuser and Final Assembly
Snap the milky white diffuser into the aluminum channel. This step transforms the visible LED strip into a soft, uniform light source and completes the hidden effect.
Step 5: Testing and Troubleshooting
Before closing access points, power on the system and test brightness and dimming.
Quick checks:
- No light: check driver and polarity
- Partial lighting: inspect connectors and cut points
- Flickering: confirm driver capacity
Top Pro Tips for a Flawless Hidden Installation
- Use 24V systems for longer runs to reduce voltage drop
- Always install LED strips inside aluminum channels
- Plan wire and driver placement before installation
- Use milky white opal diffusers for best blending
- Proper heat management helps the system perform reliably within its 3–5 year warranty under normal home use
The Complete Hidden Lighting Solution: SignliteLED
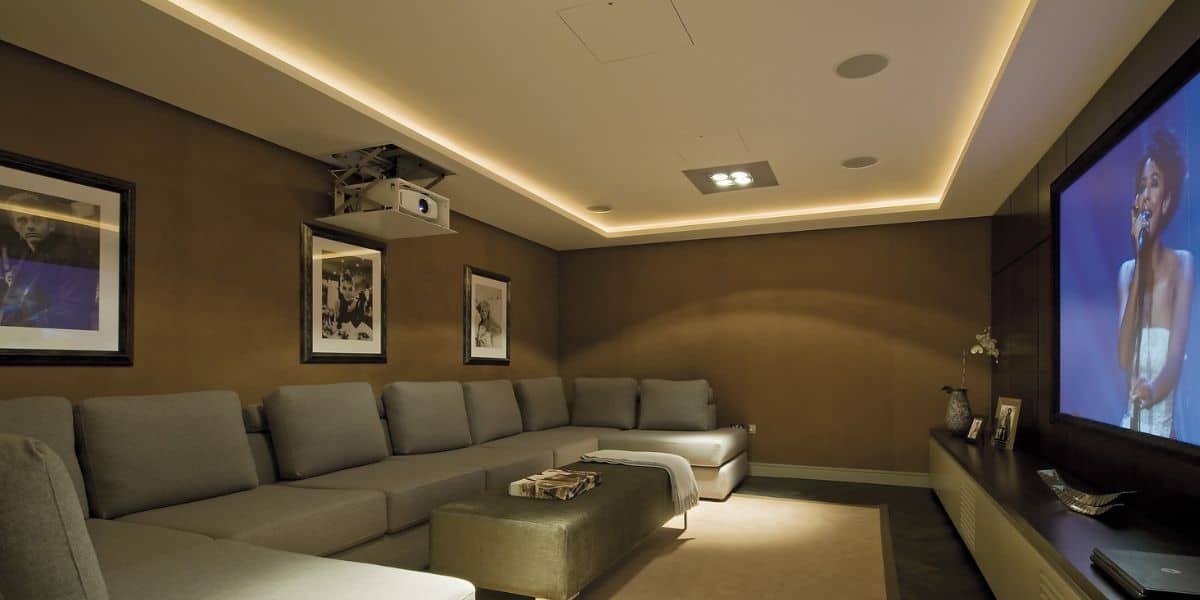
Achieving a clean, professional hidden lighting effect requires components designed to work together.
| Component | SignliteLED Solution | Why It Works |
| Light source | COB LED Strip Lights | Dotless COB technology creates a smooth, continuous light line ideal for hidden installations |
| Installation frame | LED Aluminum Profiles | Provides heat dissipation, straight mounting, and diffuser support |
| Final result | Combined system | Ensures consistent brightness, clean aesthetics, and reliable performance |
Why this system is preferred:
- Dotless COB strips for invisible light sources
- Aluminum profiles for every installation scenario
- Factory-direct quality and technical support
- Customization options for residential projects
Conclusion
Hidden lighting is about subtlety and control. The best installations make light visible while keeping fixtures invisible. By using dotless COB LED strip lights and installing them inside proper aluminum LED strip channels, you achieve a clean, modern result designed for reliable performance under normal home use.
Ready to upgrade your space with professional hidden lighting? Start with the right components and build your system the right way from the beginning.
FAQs
Related Posts